Hey there petfluencers, struggling to take nice photos?
Our in-house designers are here to help! Besides coming up with beautiful graphics, they also take excellent photos of our office pets for promotional and marketing purposes.
Not everyone has the luxury to own a camera, hence our designers have compiled a list of useful tips for you when it comes to phone photography. From getting the best composition to locating free and great sources of light- read on to find how you can improve the quality of your photos!
Let us know if you try them out!
No camera? No problem! With the advancement of technology these days, you too can take amazing photos with just your smartphone. Here are a few basic yet essential tips to start you off on your photography journey!
1. Use Sunlight!

Artificial Light Vs…

… Sunlight!!
Natural sunlight is the best source of lighting for photos, the only drawback is its inconsistency throughout the times of the day. Nonetheless, it is still the most important and easy factor to enhance your photography. Lighting determines the brightness/darkness, tone, mood and atmosphere of the photos you take. Use the sunlight to your advantage for the best ambience.
Designer Tip!: Light from behind the camera pointing directly on the subject will give flat lighting and cause a shadow to fall in the background. Using lighting from the side will produce a more interesting effect on the images taken.
P.S Try taking your photos during Golden Hour, commonly occurring around 5pm!
2. Composition Using Gridlines
Composition is another basic and essential aspect of photography.
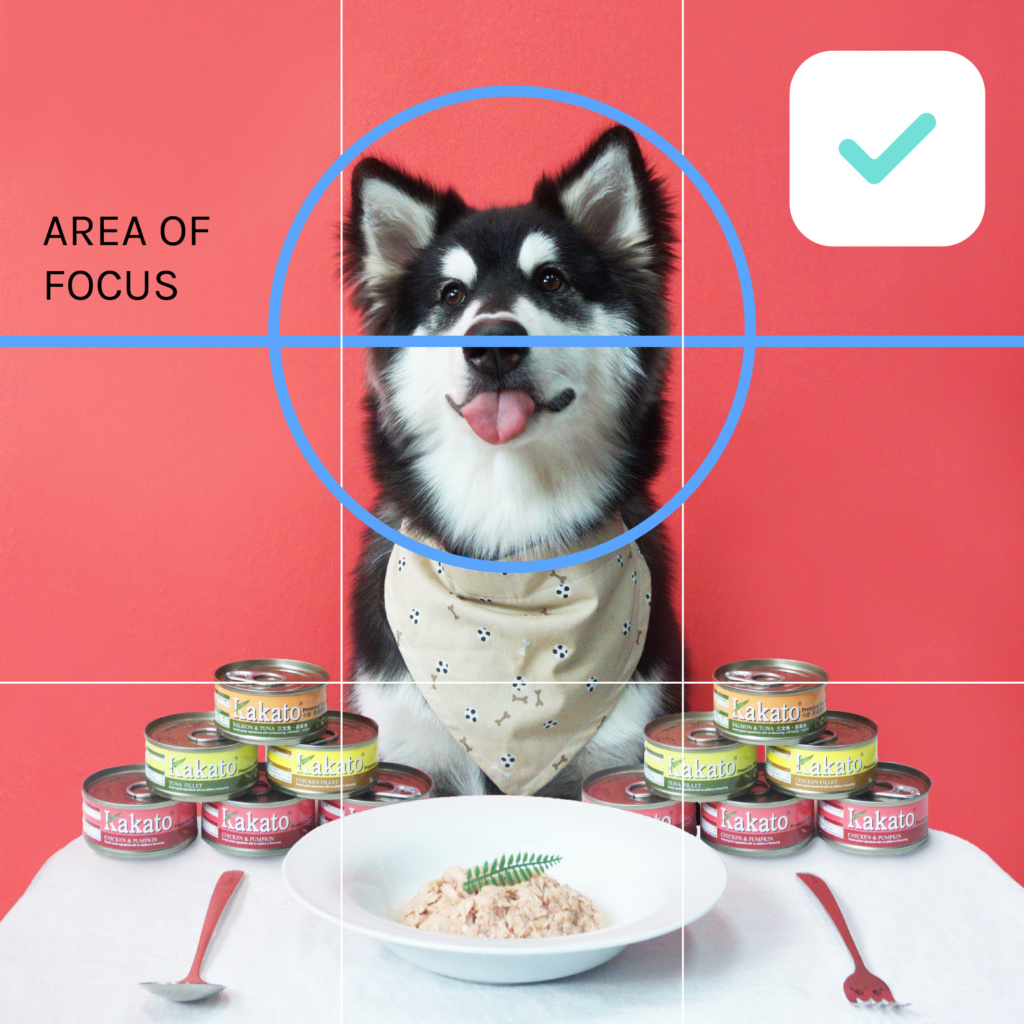
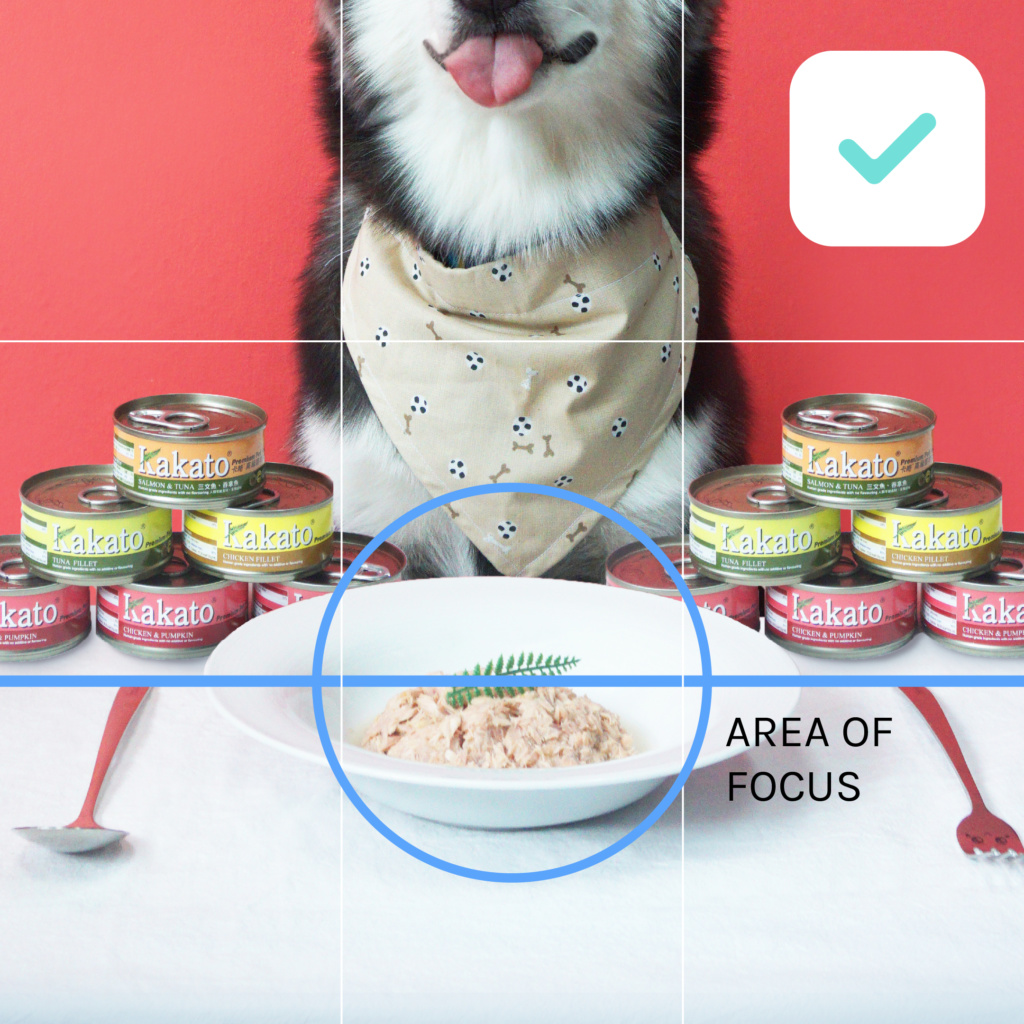
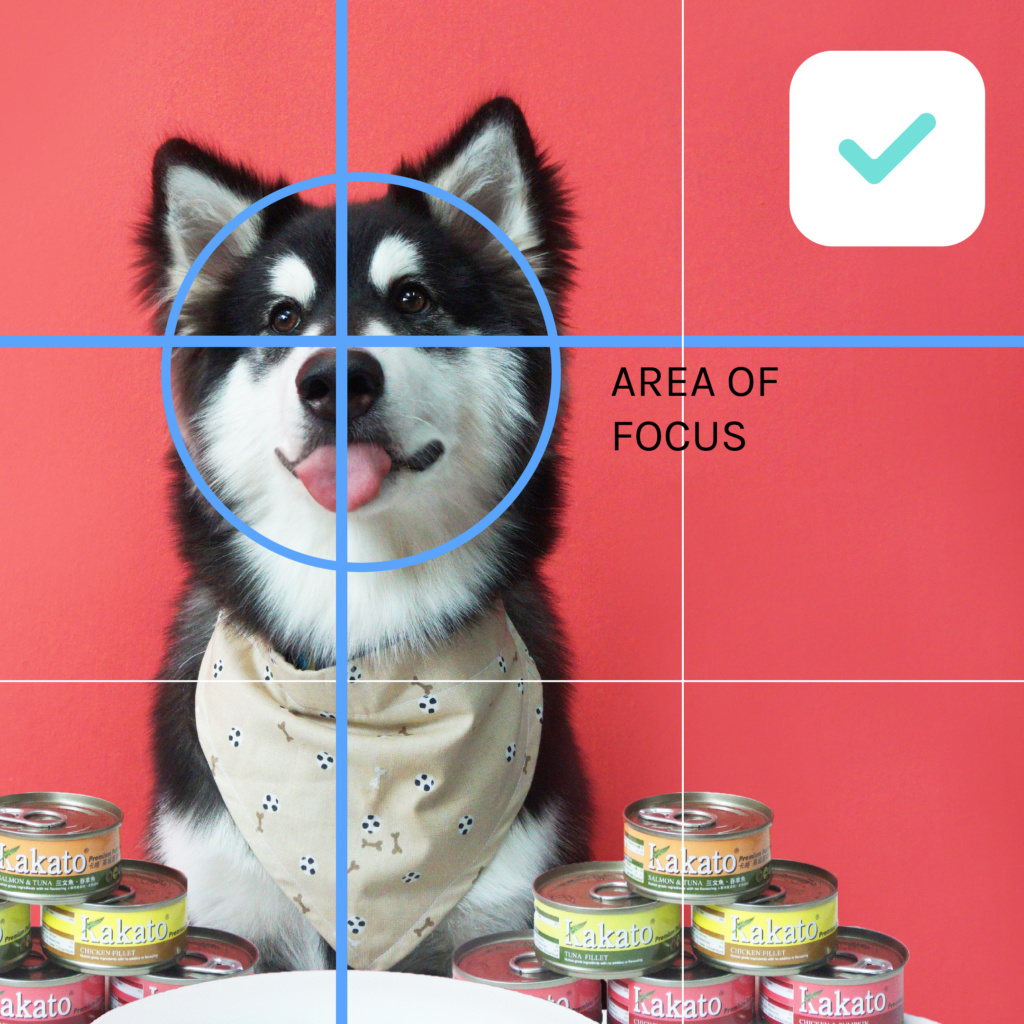
Utilise your mobile phone camera’s gridlines that can help you to balance or centralise your shots. An easy guide would be to follow the Rule of Thirds; where an image is divided into three parts both horizontally and vertically via two lines each.
Designer Tip!: Placing the subject at any of the areas along the lines would generally achieve a balanced look, especially the sections where the lines intersect.
3. Take Note of Negative Space
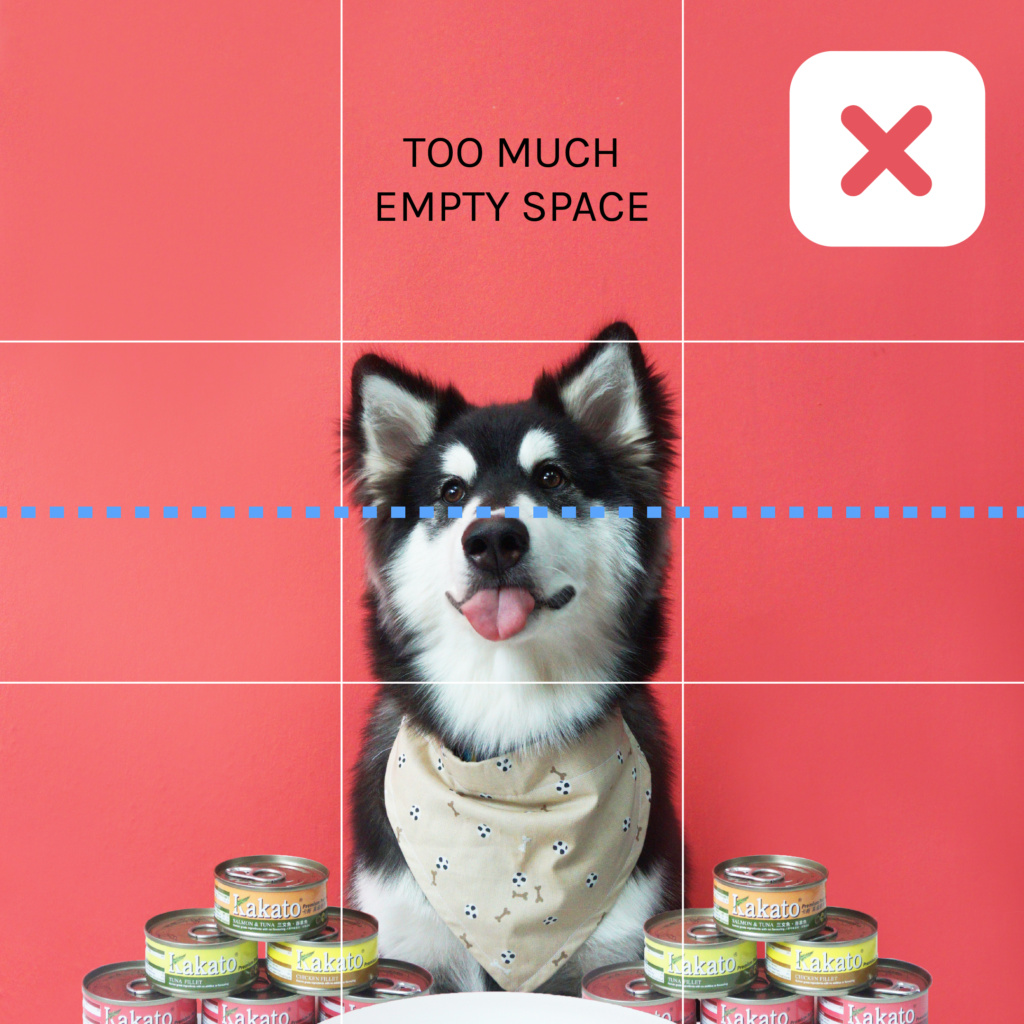
Negative spaces refers to the area in the picture that is not the subject.
Subject should not be taking up all the space in the photo. Be generous with the negative space around the subject to help the subject stand out more. It will also help to provide breathing room for the viewer.
4. Play with Different Perspectives
The most common angles to take a photo are from the top or from the front. Maximise your angle to add variety to your photos. Each perspective has their own merits and styles, so have fun experimenting which works better for the particular subject.

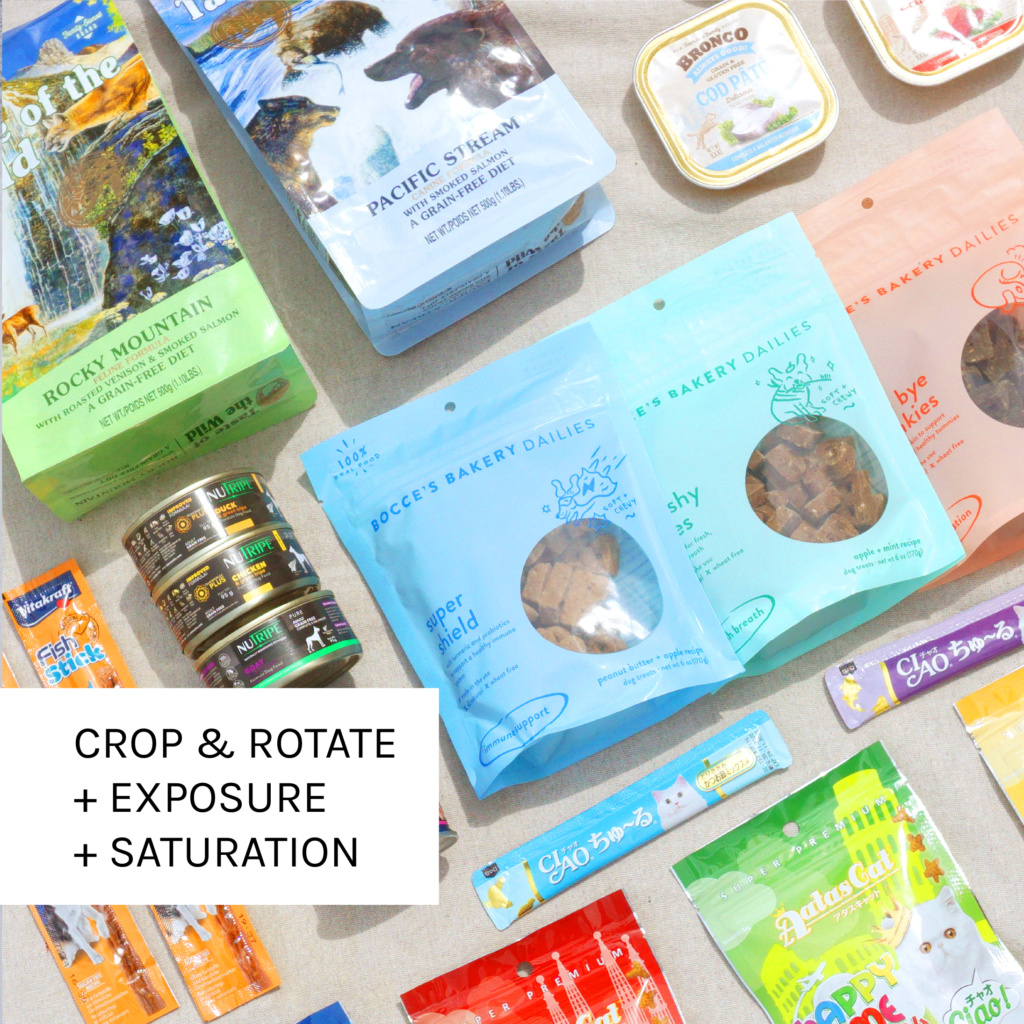
Do you prefer to take your photos top down in a 2D Flatlay position…

… or with a 3D Front View?
Designer Tip!: You can add depth by having objects in front or behind the subject that will give the viewer a sense of spatial awareness within the picture.
5. Lastly, Remember to Edit your Photos!
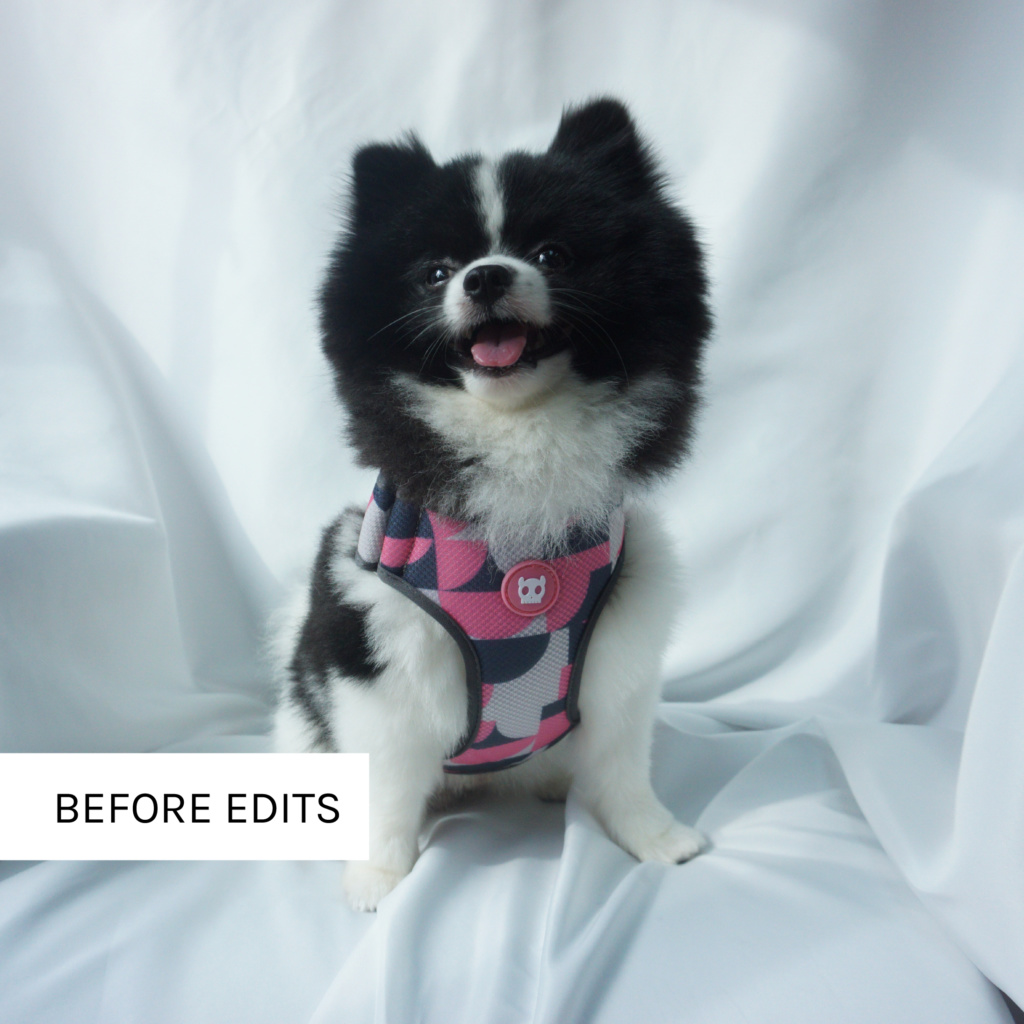
The truth about photography is that most things just don’t look that good in real life. There’s where photo editing comes in handy. Many people underestimate the power of photo edits – even the most basic edits like cropping and brightening can turn a bad photo into a good one!
With a smartphone, edits are made easier with the help of several simple and free apps. Sometimes, you may even just edit the photograph on Instagram itself and it seriously makes such a big difference!
Stay tuned to our next article for more photo editing tips!
Let us know in the comments which tip you liked best!

