Categories
Brand Highlights

4 Dog-Friendly Recipes feat. Bronco Always Good Peanut Butter!

Last month, we launched our very first The Woof Agency (TWA) Cookoff featuring Bronco Always Good Peanut Butter.

Inspired by @dubuwubu, pet owners were invited to concoct their very own dog-friendly recipes with Bronco Peanut Butter. We were truly impressed with the creativity of our paw-rents.

1. Dubu’s Satay

We kicked things off with Dubu’s amazing satay meal. Her dish inspired other pet owners to experiment and create their own recipes with Bronco peanut butter.
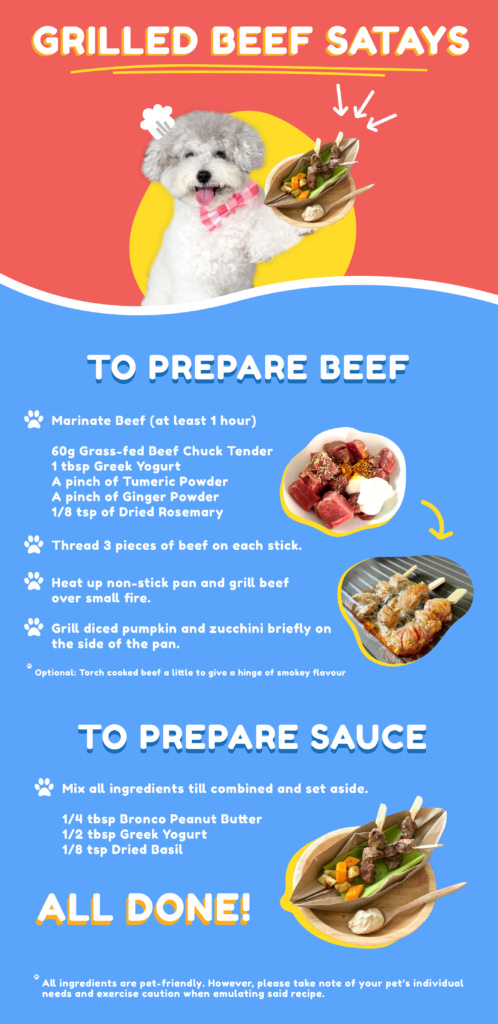
Photo and Recipe Credit: @dubuwubu

With that– Check out our Top 3 entries!

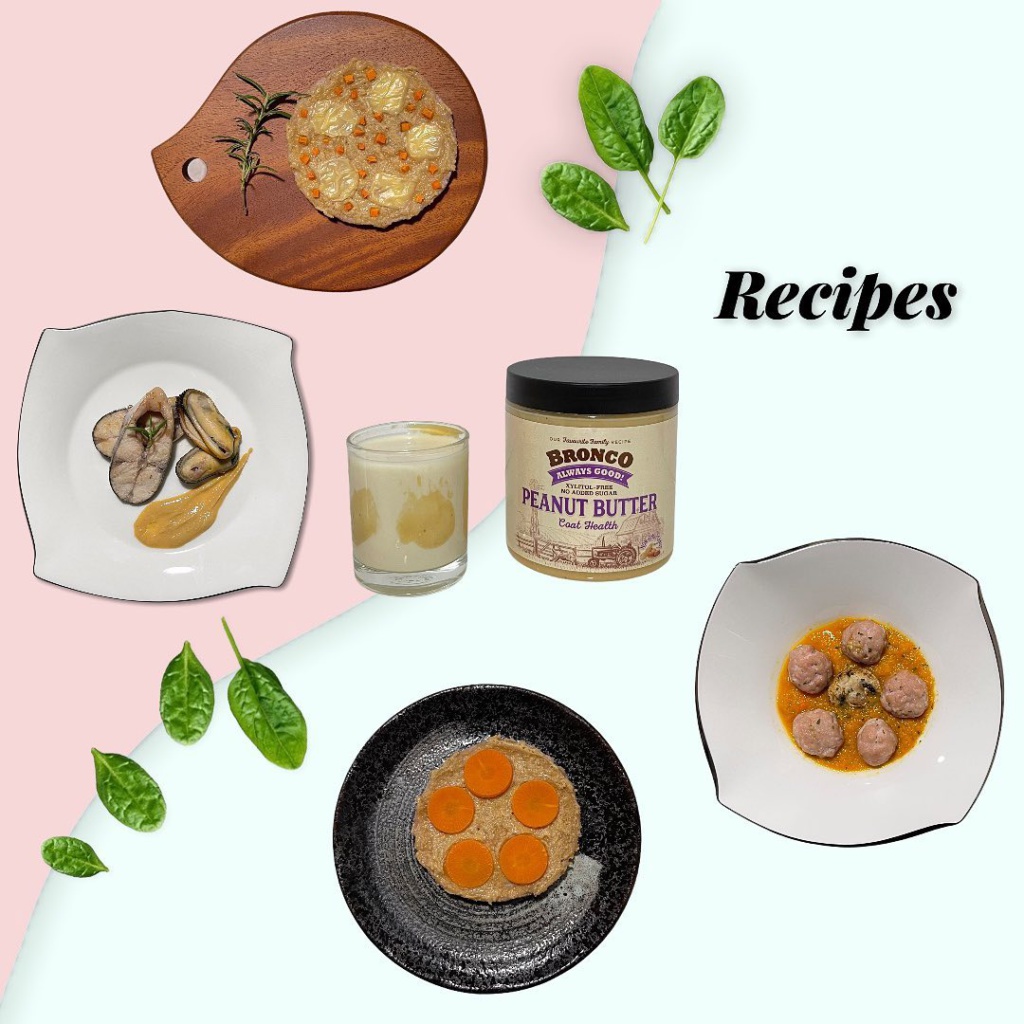
2. Truffle’s 5-course Meal
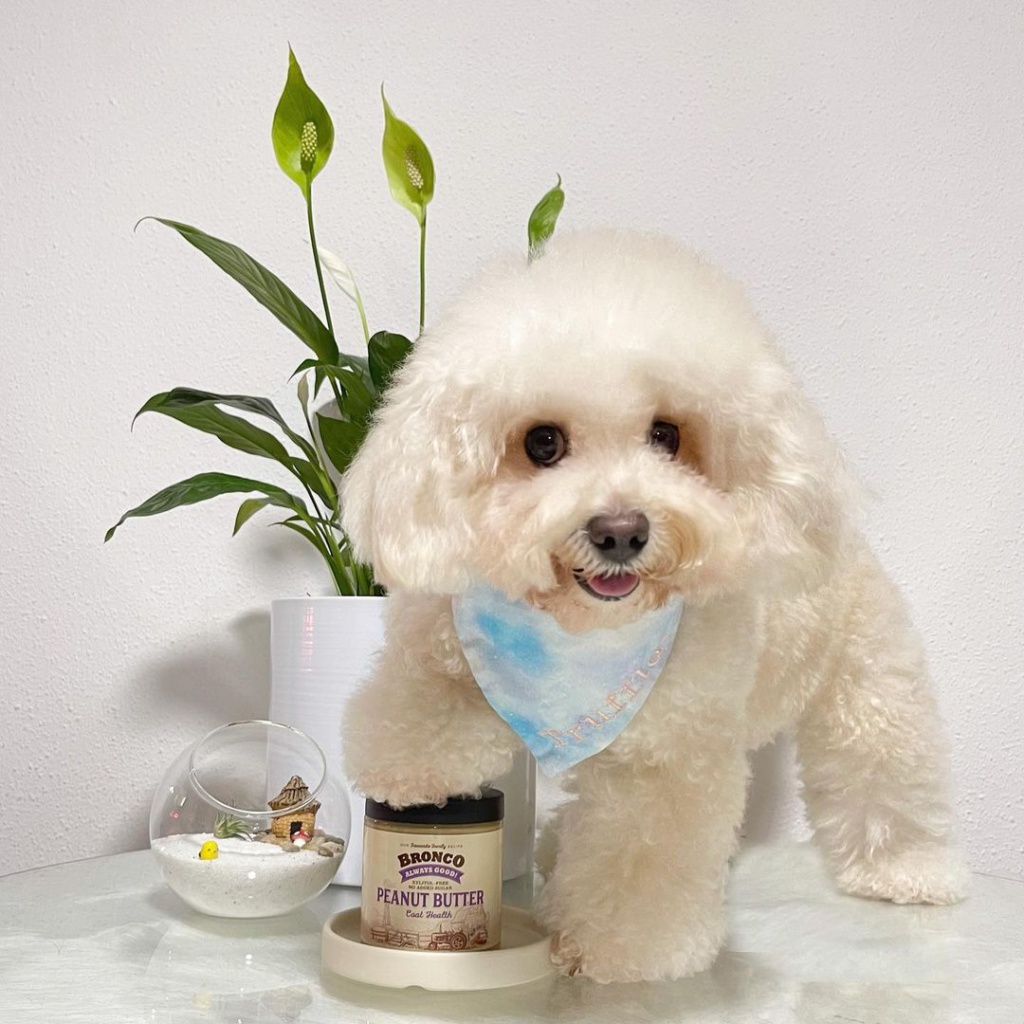
Photo Credit: Instagram @truffleruffel

Carrot and Cheese Pizza

Ingredients

  • Minced Meat (Pork)
  • Carrot
  • Cheese
  • Bronco Peanut Butter

Steps

  1. Shape minced pork loin into a circle, about 1cm in height
  2. Bake it for 4 mins at 180 degree celsius
  3. Remove from oven and let it cool to room temperature
  4. Spread peanut butter onto cooled minced pork
  5. Top with carrot cubes and mozzarella cheese
  6. Bake it for another 10 minutes at 180 degree celsius

Peanut Butter Soy Milk Shake

Ingredients

  • Unsweetened soy milk or Goat milk
  • Bronco Peanut Butter

Steps

  1. Mix a small amount of peanut butter into milk
  2. Dip the back of a spoon into peanut butter
  3. Take a shot glass and run the back of the spoon up the inner side of the cup
  4. Pour in mixed milk

See Truffle’s full collection of recipes here.

3. Latte and Croissant’s Dumplings
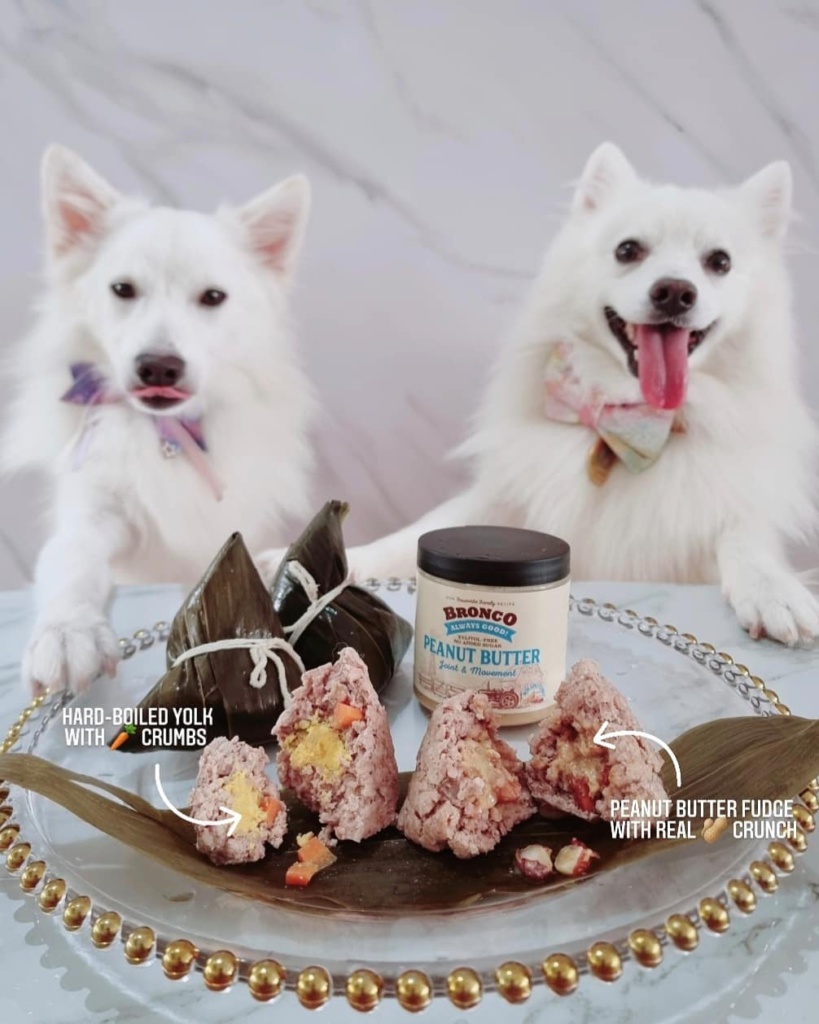
Photo Credit: Instagram @idiot_and_kosong

Peanut Dumplings

Ingredients

  • Minced pork
  • Bronco Peanut Butter
  • Half-cut deshelled peanuts
  • Chopped carrots
  • Bamboo leaves
  • String
  • Boiled egg yolk (optional)

Steps

  1. Wrap minced pork in bamboo leaves while incorporating peanuts and carrots until half full
  2. Insert peanut butter in the core – Boiled egg yolk can be added here, depending on how large your dumplings are
  3. Wrap pork around fillings until the desired shape
  4. Secure it with a string
  5. Boil dumplings in boiling water and pork are fully cooked

Check out Latte and Croissant’s post here.

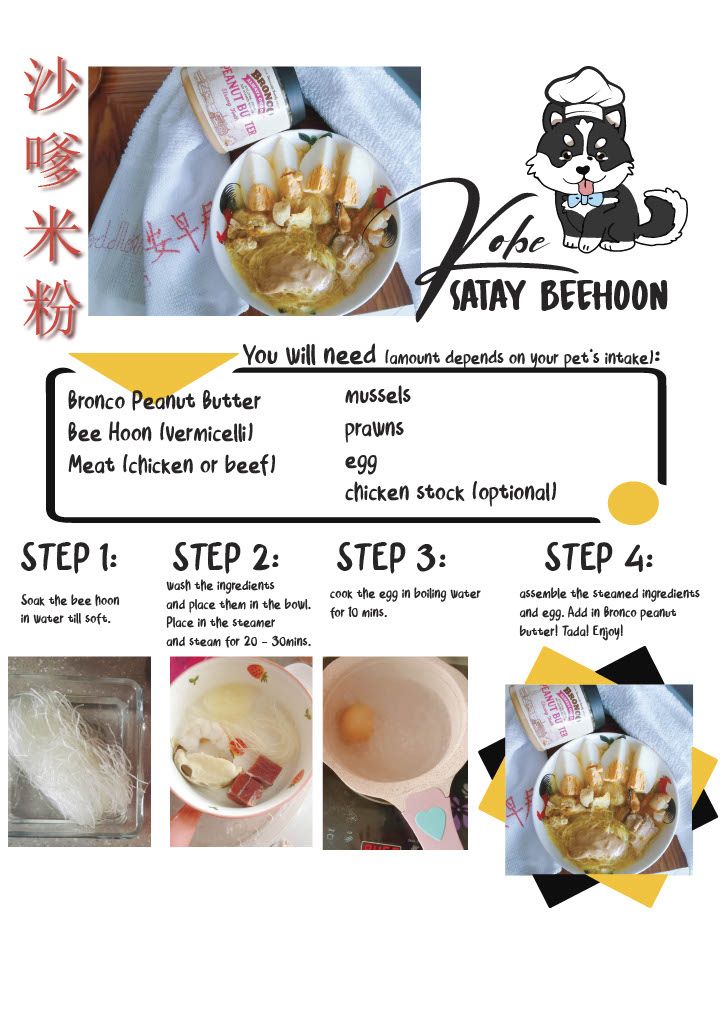
4. [WINNER] Kobe’s Satay BeeHoon
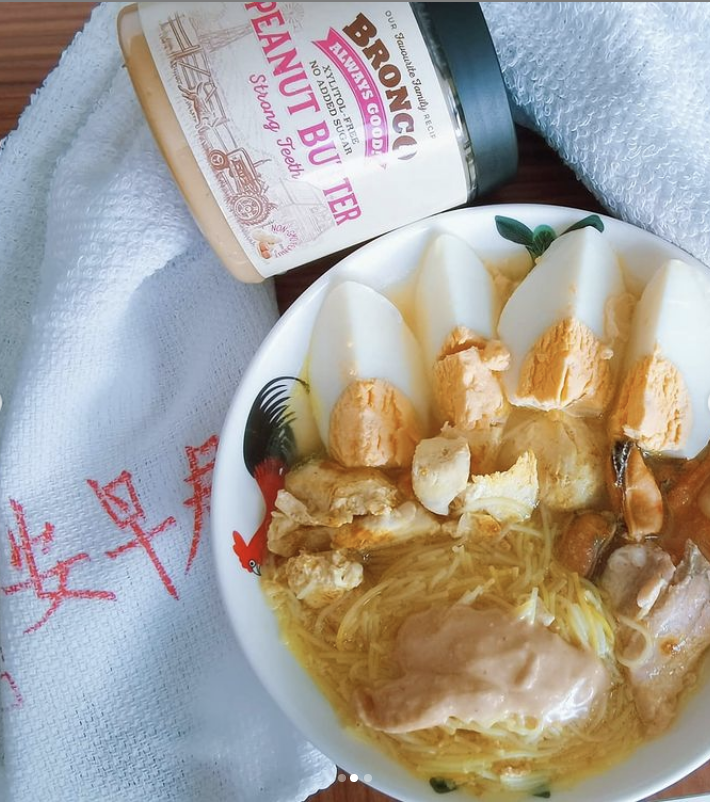
Photo Credit: Instagram @furrychua
Photo Credit: @furrychua

Kobe’s Satay Beehoon

Ingredients

  • Bronco Peanut Butter
  • Bee Hoon (Vermicelli)
  • Meat (Chicken or Beef)
  • Mussels
  • Prawn
  • Egg
  • Chicken Stock (Optional)

Steps

  1. Soak Bee Hoon in water till soft
  2. Wash ingredients and place in a bowl.
  3. Steam ingredients for 20-30 minutes.
  4. Cook egg in boiling water for 10 minutes.
  5. Assemble steamed ingredients and egg. Add in Bronco Peanut Butter and enjoy!

Check out Kobe’s winning entry here.


We would like to thank all our participants for their wonderful entries. In no particular order: Bai.leywatch | be_like_chewie | Billie_barkington | Bingo_binguu | Corgicallednugget | Corgimochichan | dailyy.cocoa | hey.buibui | Ilikethatcookie | itsbailey2017 | Lexi.the.spitz | miku_pomapoo | Milky_thesillydog | Mizuthecorgi | Peanut_thelittleboss | promisethedoggie | shooting.star.cockapoo | Twinkle_themaltipoo

Check out everyone’s amazing recipes. Linked above.

Stay tuned for more campaigns like this with Pawjourr’s Pet Jobs Portal.

Let us know in the comments if you’d be trying out these recipes soon!

Categories
Community Stories

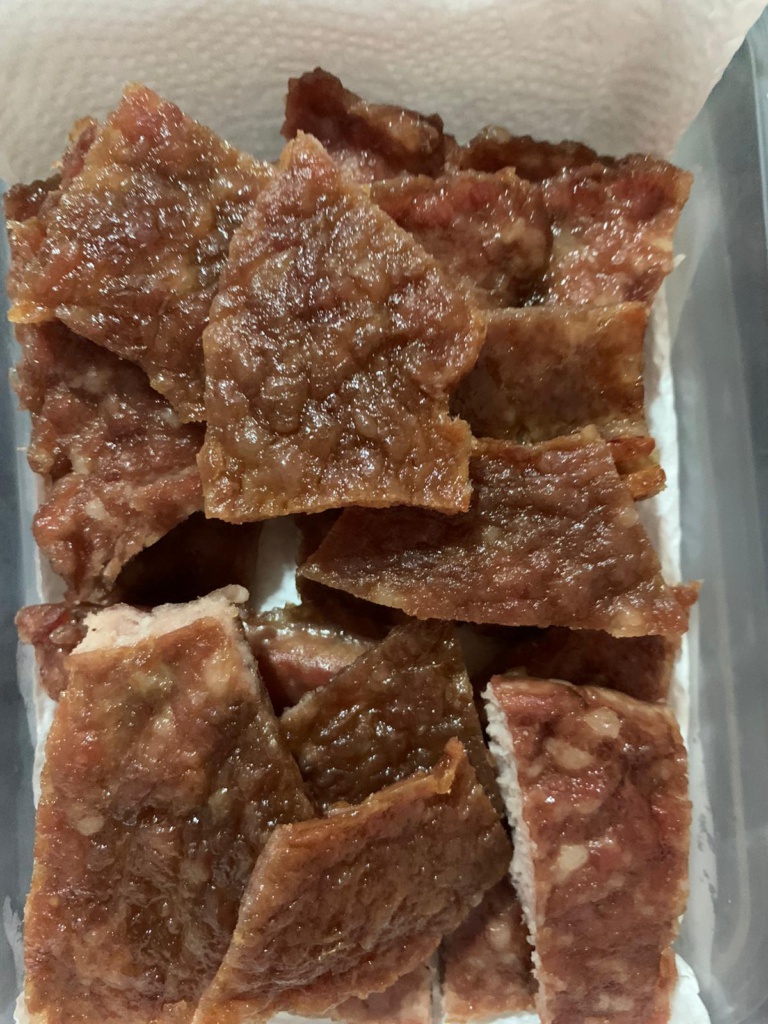
A wonderful bak kwa recipe for your wonderful pups!

Are you looking to treat your amazing furkids to some delicious Chinese New Year goodies? I’ve got a fun one for you!

Not only is this recipe delicious (based on the reviews of the pups that have tried it), but it’s also extremely easy to make.

You’ll need the following ingredients/equipment:
1. A dehydrator
2. Baking sheet
3. Minced meat (pork/chicken) (~300g)
4. Herbs (Oregano, Rosemary, and any others that you like)

Step 1:

Firstly, be sure to thaw, wash and drain the meat! By doing so, it saves you a lot of time waiting for the dehydrator to make its living.

Step 2:

Once the meat is nice and soft, you can start to mix in any optional ingredients that you’d like. Feel free to add in some fat such as a little bit of butter to just give the meat a nice coating, as well as salt and other herbs that your pup prefers. Personally, I like to use rosemary and oregano as not only are they delicious, but they’re also nutritious for dogs to eat.

If you’re not into that, you can also opt to just pop the meat straight into the dehydrator as is and it’ll still be delicious!

Once done, you can leave the meat to rest as you start to set up the dehydrator.

Step 3:

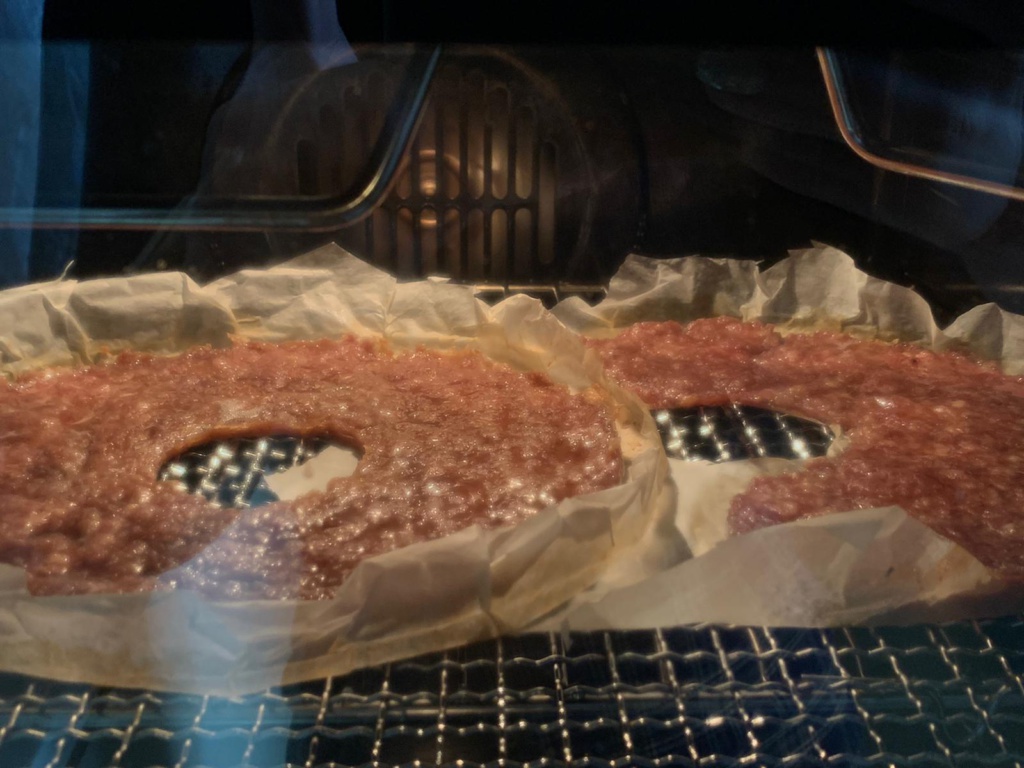
Spread your baking paper on the dehydrator and make sure its covered as much as possible. Once done, take the minced meat and use the back of a spoon or spatula and spread the meat across the baking sheet.

*IMPORTANT: In order for your Bak Kwa to be crispy, spread the meat thinly across the tray.

Adding it in the oven for extra conchiness

Step 4:

Once done, set your dehydrator to anywhere between 60 – 80 degrees celcius, based on the total weight of meat you purchased. The total cooking time should be set to 8 hours. Once set and the dehydrator is closed, feel free to tend to other work, or just enjoy a nice break on the couch for 7 hours and 55 minutes while you wait for it to be done.

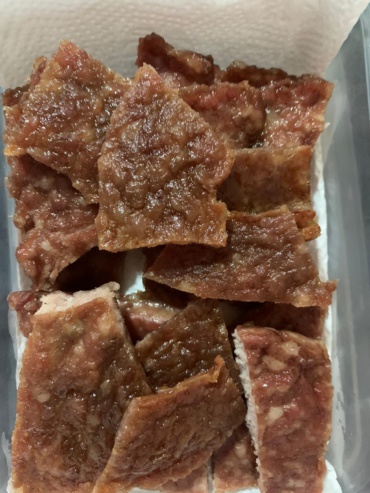
Yummy Bak Kwa for furkids

Step 5:

After 8 hours, your bak kwa will be cooked and ready for your pup to eat! For those of you who want it to be a little bit crispier, you can put the bah kwa in the oven for around 10 – 15 mins for an added cronch 🙂

After that’s done, you can cut the bak kwa into bite-sized pieces for your pup.

Summary

And there you go! An extremely simple recipe that you can make this CNY to give your pups some delicious treatos. Of course, it’s worth mentioning that this recipe is just a basic guide. If you’d like to use different types of meat or seasonings based on your dogs preference, feel free to do so!


Categories
Community Stories

Making Pupcakes with Lego!

Lego is a young Lagotto Ramagnolo living in Singapore and he’s here to share a simple pupcake recipe! You don’t have to wait for your pet’s birthday every year before indulging in pupcakes. Now, you can simply make them yourselves at home.

You will need:
1/2 rolled oats
2 bananas
1 egg
Peanut butter (without xylitol)
3/4 coconut flour
Pet-safe milk
Baking powder

Let’s get bakin’!

  1. Mash the bananas

2. Add some peanut butter

3. Add an egg

4. Add milk

5. Stir em’ well!

6. Add oats for the extra crunch

7. Add coconut flour

8. Add baking powder

9. Mix well!

10. Line baking tray and fill them up with the mix

11. Into the oven they go!

Bake for 10-15 minutes

And they’re done!

Note that pupcakes recipes are generally not a balanced meal and should be fed in moderation. Pawrents should be the gatekeepers in deciding what should be included in their pet’s diet.

Special thanks to Lego for sharing this simple recipe!

Categories
Community Stories

Easy Dog Treats Recipe: Prawn Risotto

Eating with Ji is a video series that showcases fuss-free yummy treats made for dogs, by a lazy pawrent who wants to act fancy. Do note that the treats are meant to be consumed as part of a balanced diet, and should be fed in moderation.

Prawns are not part of Duoji’s regular diet but I give some to her occasionally, when it’s on the hooman’s dinner menu. Normally I just boil them and add them to her dinner but then I thought, why not jazz it up a little to make the treat a little extra special for her. Hence, the idea for prawn risotto – doggie version.

I highly recommend boiling the prawns in their shells, with the head, so as to extract the goodnesss of the prawn head roe for the broth. In the video below, I didn’t have the prawn heads on hence the broth looks less creamy.

Another time, I made this again but I mixed in a little bit of Absolute Holistic Lobster Bisque for extra oomph.

I hope you’ve enjoyed this recipe. Do share your creations with us.

Until our next post!
@duojipoodle

Categories
Brand Highlights Community Stories

How to make Bone Broth using pressure cooker

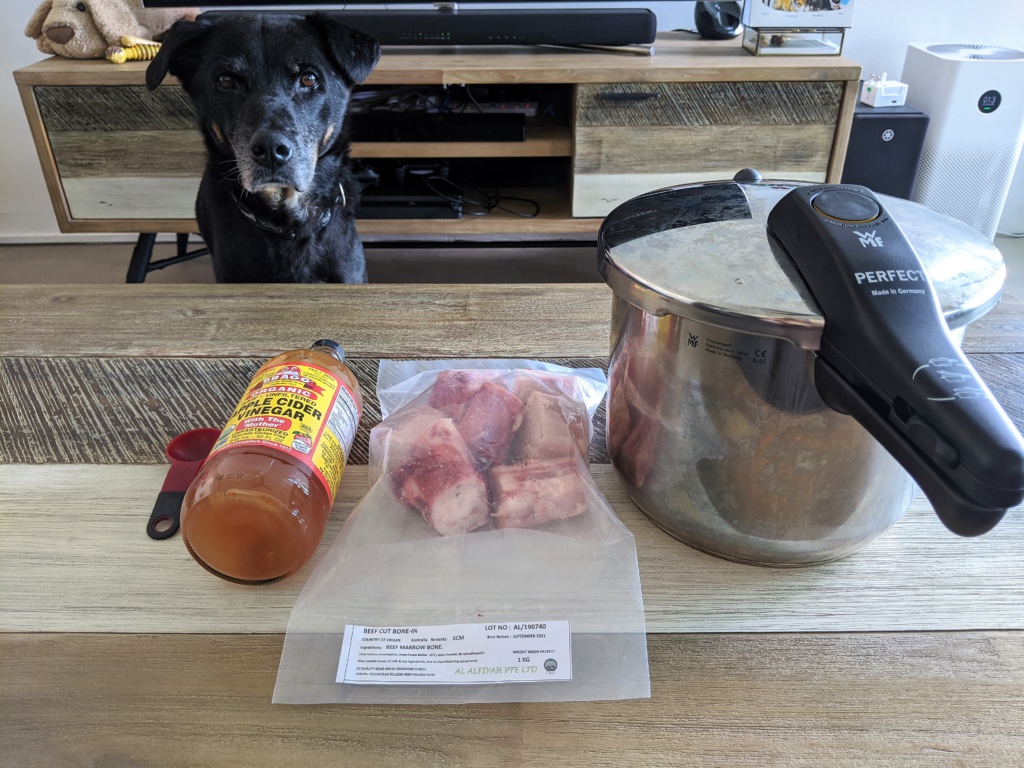
There are many benefits of bone broth for both humans and dogs! It makes a great addition to your dog’s diet and helps with joint aches, digestion, healthy gut etc. Simply search online and you will find a list of benefits.I have tried using a variety of different types of bone – pork, beef and lamb (did not try chicken since Bam Bam is allergic). I recommend using marrow bones or joint bones with cartilage as they contain a significant amount of collagen that gives you a gel-like consistency. I get lamb bones from the neighbourhood market at $6/kg, pork bones from Sheng Shiong at $7-$8/kg and beef bones from S.S.KIM at $4.50/kg or OMNI at $2.57/kg . I find bones with little to no meat take a shorter period of time and will yield more since there will be lesser fat.

What you need:

  • 2 kg of bones
  • 3 tbsp apple cider vinegar (ACV) – I had more success in achieving a gel-like consistency using Bragg’s ACV as compared to HEINZ
  • 3 L water (approximately)
  • A dog to taste test 

Method:

  1. Place 2 kg of bones inside the pressure cooker.
  2. Add in 3 tbsp ACV and approximately 3 litres of water. A good gauge would be to ensure that the bones are fully covered with water or until it reaches the maximum capacity of the pressure cooker.
  3. Place it on high heat and cover with the lid.
  4. When the pressure has reached its max, lower the heat and let it boil for 8 – 9 hours. I use an induction cooker with a heat range of 1 – 9 and usually leave it on at level 4.
  5. After boiling, strain the bone broth and leave it to cool. Put it in the fridge overnight to allow the layer of fat to form at the top. This makes it easier to remove it the next day.

Tips/things to note:

  • I used to defrost the frozen bones before boiling but I find that it did not make a difference if I used the frozen ones immediately.
  • After boiling the broth on high heat for 5 mins, I would also skim off the scums before covering it with the lid. Again, not much of a difference when I skipped this.
  • It took me a few tries to get the duration right to achieve a gel-like consistency. Do not fret if you are unsuccessful the first few attempts. The following factors may play a part:
    • Types of bone used – joint bones contain a high level of collagen. Gelatin is the cooked form of collagen which gives you that gel-like consistency. I have tried using normal soup bones and was unsuccessful.
    • Amount of ACV – the acidity helps to extract the collagen.
    • Duration – You may need to boil the broth longer to extract the collagen out from the bones.
  • Gelling happens when you cool it down in the fridge. If you put it out at room temperature, you will start to see it ‘melting’ into a liquid form which is normal. Bone broth is still nutritious even if it does not gel after refrigeration! Gelling is just a sign that it contains more collagen. I found this article useful in understanding why my bone broth was not having that gel-like consistency:  Troubleshooting Bone Broth: Why Won’t It Gel?
  • Also, please remember to watch the cooker when it is on high heat. Once, I completely forgot about it and by the time I heard the noise, it was too late, and my pressure cooker was spurting broth and it flooded the countertop and floor! There was bone broth all over the wall as well, ABSOLUTE NIGHTMARE!
  • You can also add in vegetables in your bone broth. I tried adding carrots and spinach once and the results were the same.
  • As homemade broths do not contain preservatives, it can sit in the fridge for only 3 – 4 days. Pack it in several containers and freeze it. You can also freeze it in big ice cube trays and defrost it before consumption.
  • If you do not have a pressure cooker, you can use a slow cooker but do note that it will take much longer (possibly 18 – 72 hours).​

Enjoy and have fun making bone broths for your puppers! I have yet to add it in my daily diet but I came across a bone broth recipe that said “Better than Botox”.  Time to reconsider!  ​

https://www.youtube.com/watch?v=XPK1mgscOMw&feature=emb_logo
Categories
Community Stories

4 Simple Dog Treat Recipes To Make For Your Furkid + DIY Barkday Cake!

In today’s article, I’ll be sharing easy treats recipes and DIY Birthday cake for your furkid!

Disclaimer: I am not a professional. This article is written based on personal experience in making these treats.

If you’ve never done your own dog treats before I suggest starting with one of the dog recipes in the list below. In fact, I would recommend these recipes to everyone.  Who doesn’t love simple?

These basic dog recipes are easy to produce, even to beginner cooks like me. And if your treats don’t turn out to be as pretty as the pictures below, don’t worry — your dog will just enjoy them the same way.

Here’s some simple dog treat recipes are are made from human-grade ingredients and frozen choices, to DIYs. Owners can eat it too !

1. Quick & Easy Peanut Butter Treats

Does your dog love peanut butter as much as mine does?

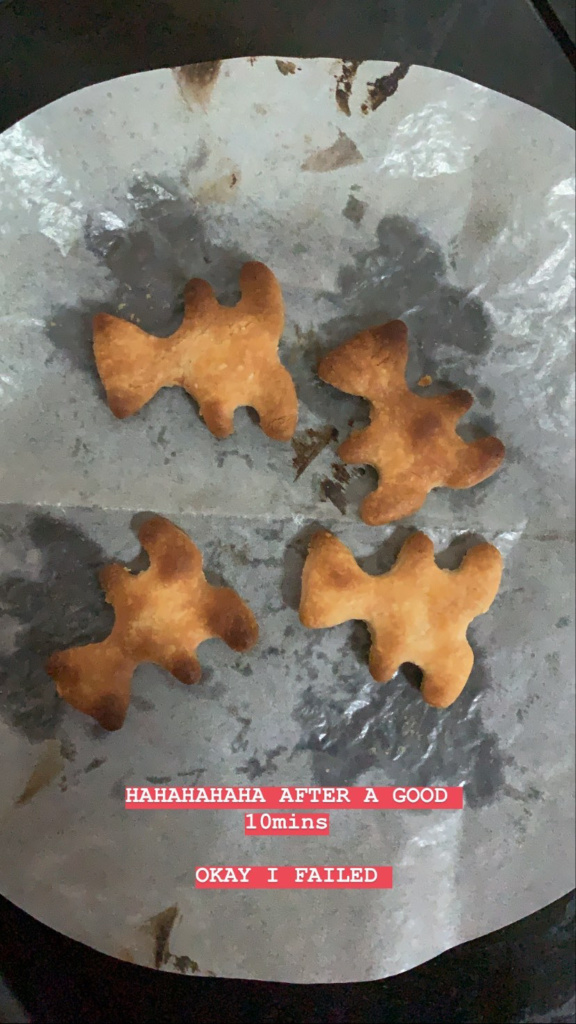
LOL – over heated. try n error yourself.

Ingredients – 2cups flour, 1/2 cup creamy peanut butter or powdered (dog-friendly ones), 1/4 cup water.

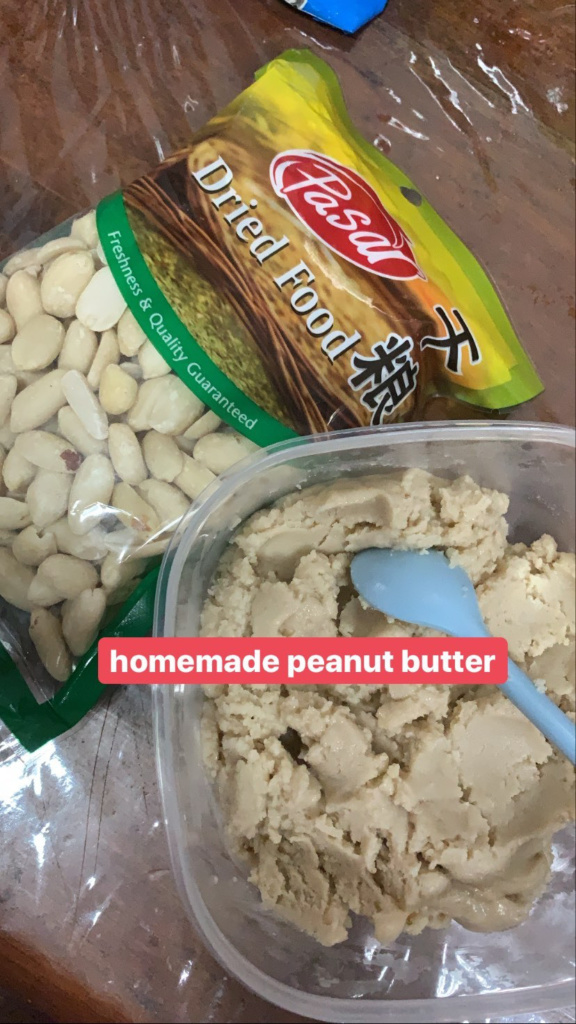
Homemade Peanut Butter.

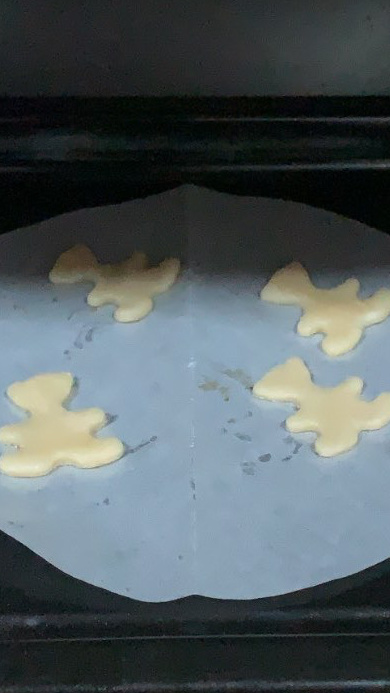
Preheat your oven to 350 F. Mix the ingredients together until combined, and then add water until it becomes wet enough to roll out as dough.

Two ingredient dog treats: about 10 minute cook time at about 150 – 180 degree.

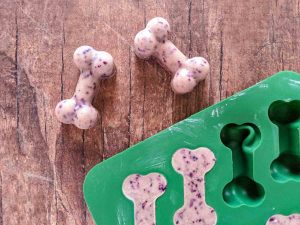
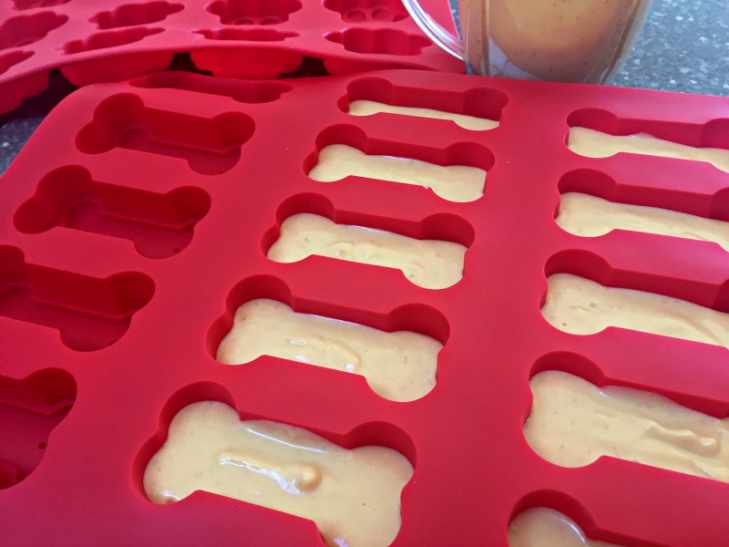
2. Frozen Yogurt Apple/Banana/Blueberry/Strawberry Dog Treats

This dog treat recipe is so simple it doesn’t even involve any cooking.

Ingredients – 2apples/banana/blueburry/Strawberry, a cup of plain yogurt/kefir n some ice cubes trays or mould.

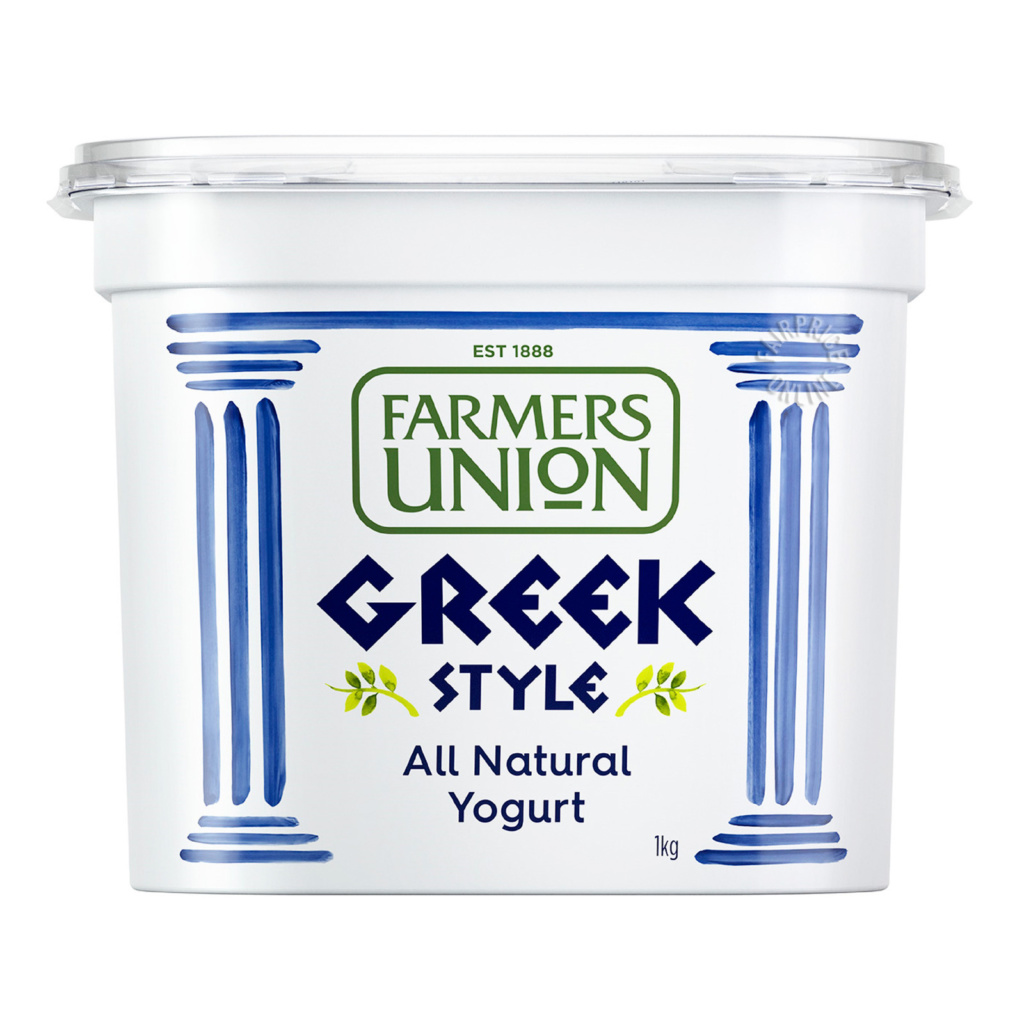
*Recommend you to get Farmers Union Greek Style Yoghurt – Natural

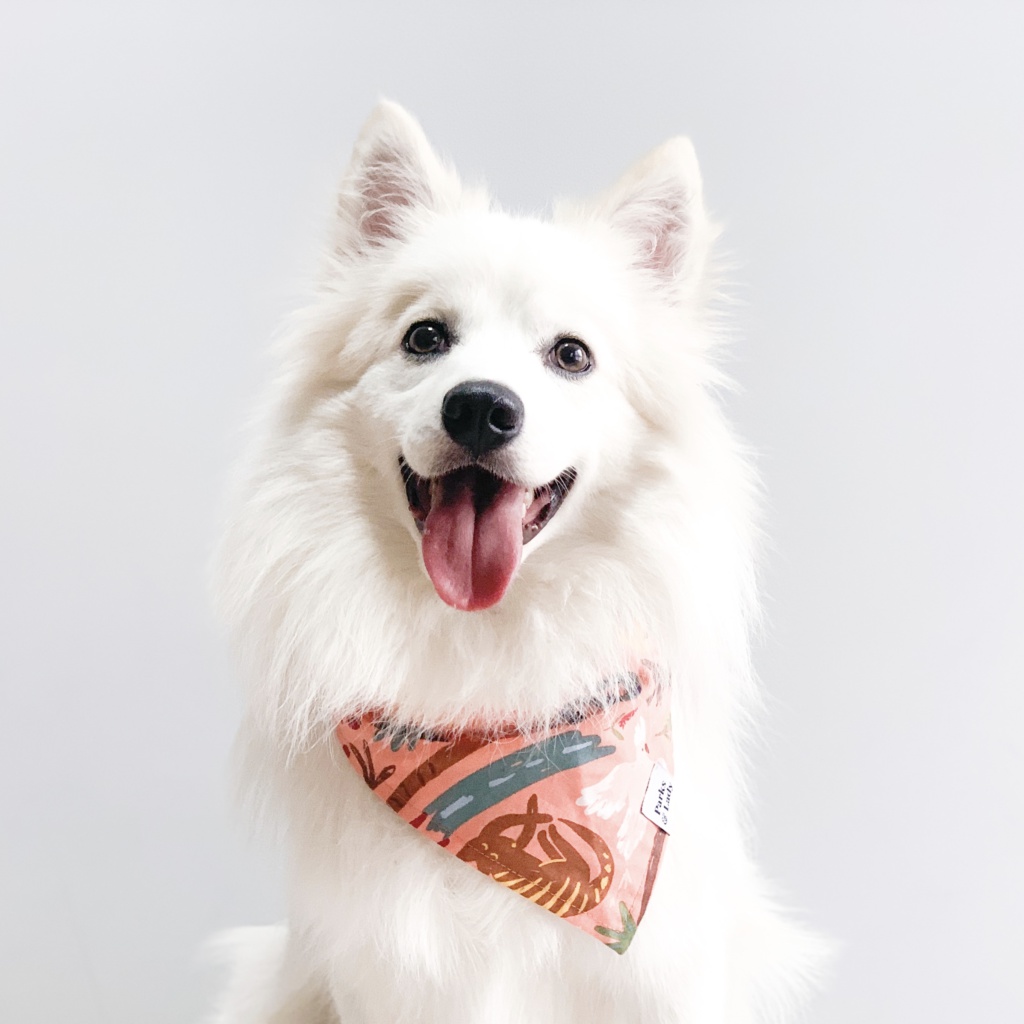
You’ve got yourself a yummy treat your dog will love. My dogs Snowy&Bella absolutely loves these treats.

Freeze for a couple hours.

You can also mix n match, your own innovation!
3. Yogurt Apple/Banana/Blueberry/Strawberry Dog Treats – eat on the spot !
This dog treat recipe is excetly same as frozen treat above but without freezing it.

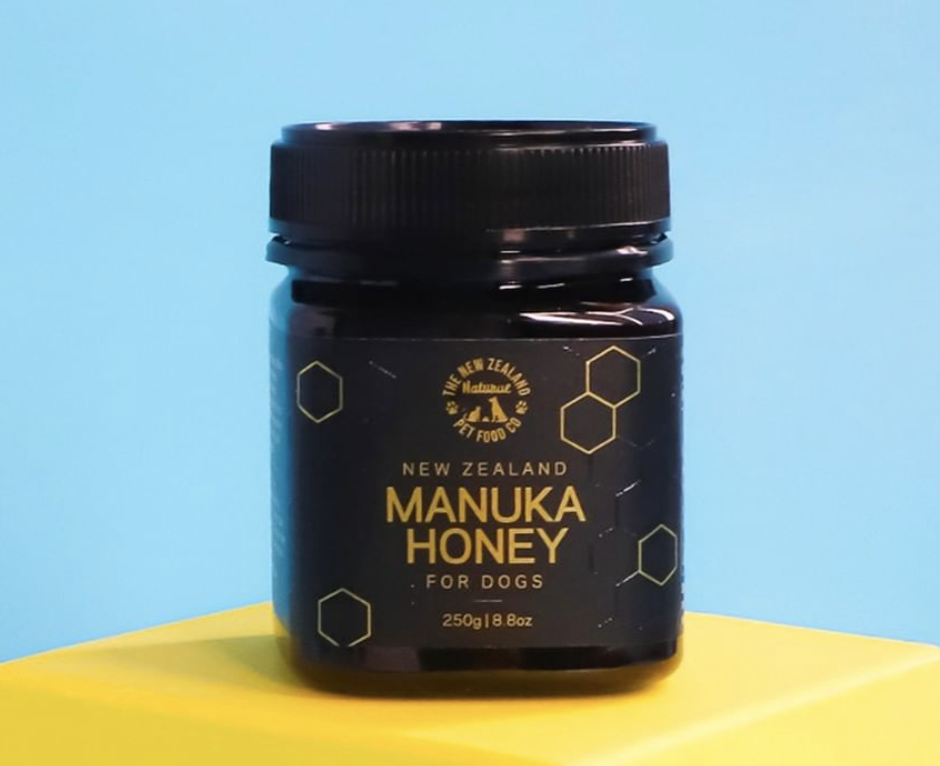
Ingredients – sliced apples/banana/blueburry/Strawberry and a cup of plain yogurt/kefir. Additional ingredients Manuka Honey.

Pour the yogurt into the bowl, decorate with the fruits and serve it to your furkids ! Add a little of raw Manuka honey if you want to !

Image from @wag.n.co

4. Pumpkin Cookie Dog Treats.

These pumpkin dog treats are mega simple. They’re made with whole wheat flour, though you’re certainly welcome to use all purpose. Whole wheat flour just tends to carry a bit more nutritional value. Pump up the health value of those treats!

Ingredients – 2 cups + 2 Tablespoons whole wheat flour all purpose is fine, 1/2 Tablespoon baking powder, 1/2 cup pumpkin purée, 1/4 cup water or milk, 1 large egg.

  1. Preheat the oven to 350ºF.
  2. In a large bowl, whisk together the flour and baking powder.
  3. Set aside.
  4. In a medium size bowl, whisk together the pumpkin, water or milk, and egg until smooth. 
  5. Pour the wet ingredients into the dry ingredients and mix gently until everything is combined. You may need to use your hands. /roll out dough onto a floured surface and use desired shape cookie cutter, reroll, and cut again until there is no more dough left.
  6. Bake dog treats for 30 minutes, flipping treats over halfway through baking. 

ingredient dog treats: 30 minute cook time. Store dog treats covered at room temperature. Treats may be frozen, up to 3 months. Thaw at room temperature.

——————————————————————————————————————–

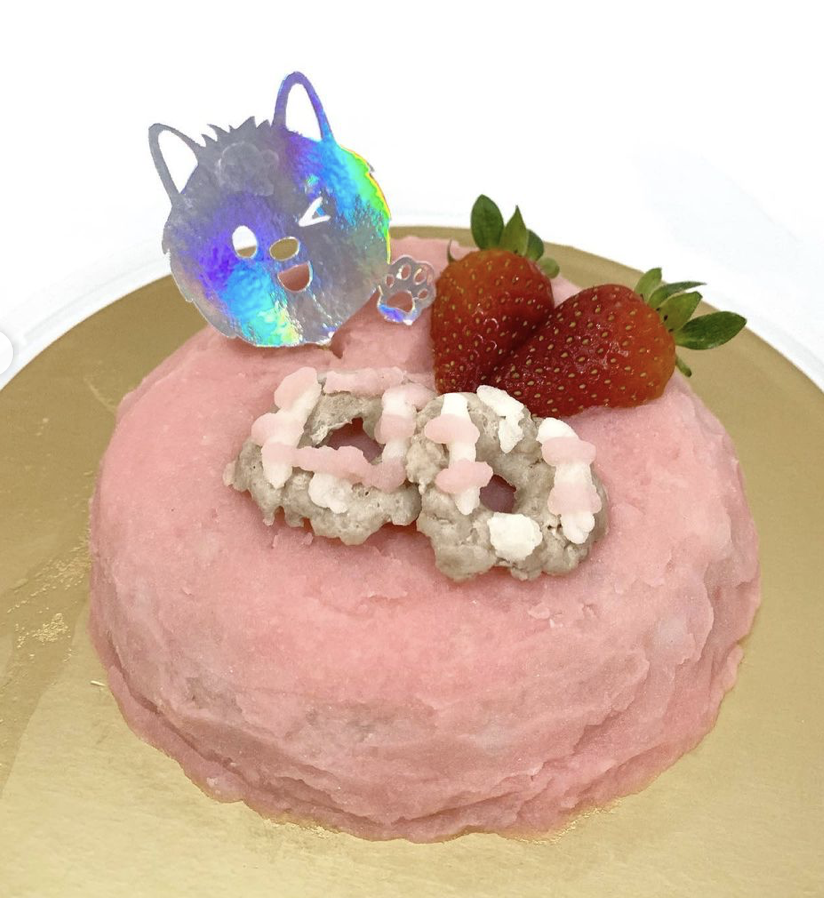
DIY Barkday Cake (homemade from scratch)

I’m super exciting recipe to share with you: a yummy Birthday Cake just for pups!

https://www.instagram.com/p/CDtShEJj2Pk/

Ingredients List

(Cake) 300g pork – I use /beef/Tuna/etc… (steamed/baked – i baked) and 50-70g finely chopped vegetables (carrots/pumpkim/any vegetable you wanna add in)

(Frosting) 300g Mashed Potato – I use / sweet potatos (purple/orange) / Greek yogurt frosting , Liquid Food Colours – must be dog-friendly (any colour you like or you can use natural vegetable for colours)

(Decorate) Fruits – Strawberry, Banana, Blueberry, etc.. / dog cookies / dehydrated meats??

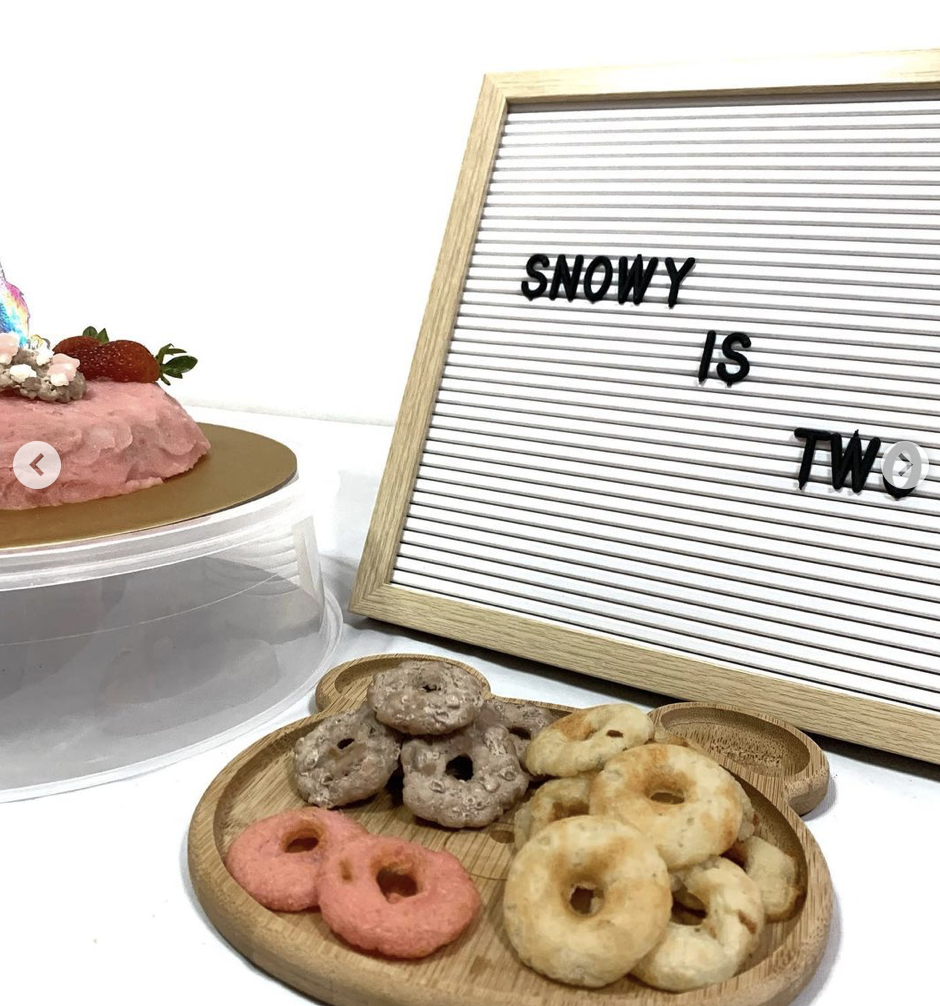
instagram @snowyxbella

STEPS

  1. Preheat oven to 160-180 degrees celsius.
  2. Mix together all the (cake) ingredients into a bowl
  3. Transfer it to a cake mould and bake for 15-25 minutes, (To check if the cake is done, place a stick in and remove. If stick comes out dry, it’s done!)
  4. Leave (cake) to cool.
  5. Prepare frosting: Mashed Potato together plain or if you adding the list below.
  6. Once cakes are cool, they are ready to frost and design to your liking! 

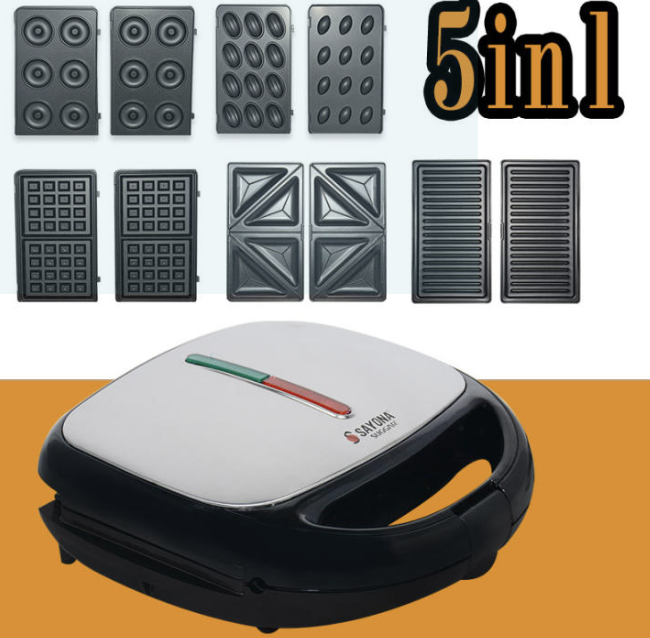
If there are left over mashed potato, you can use waffle/donut maker machine to cook it OR dehydrate it (personally I’ve never tried to dehydrate it, maybe you can let me know).

We hope you enjoy reading and baking it for your pup! Your pup will definitely like it because my pup likes it!!

Lemme know what other strategies did you use or what orther recipes you tried? Let us know in the comment below or DM us on our Instagram @snowyxbella , or what are the topics you would like us to share! 

Example – Dog-friendly (cafes, restaurants, hotels, daycare, services, fun places) , Organised for a doggie pawty, Training, Dog parks, Life (tips – photos, recipes – how to dehyrate treats), Shop pet suppliers (accessories, shops on stores/online/instagrams), etc…

Categories
Community Stories

Easy Dog Treats Recipe: Salmon Sliders

Eating with Ji is a video series that showcases fuss-free yummy treats made for dogs, by a lazy pawrent who wants to act fancy. Do note that the treats are meant to be consumed as part of a balanced diet, and should be fed in moderation.

The idea to create special treats for my dog came about one day when I was watching Masterchef on TV. When I saw the contestants getting all creative and coming up with yummy dishes, I thought to myself, hey I could do that for Duoji too. Plus point, she’s probably less critical than Gordan Ramsey.

Of cos, me being me, my aim is to keep things as simple and fuss-free as possible. Hence the idea for the Eating with Ji series was born – to create ‘fancy’ yummy dog treats with easily available ingredients under a short amount of time.

The first treat I made was mini burgers or sliders. I used a commercial dog bread for the bun but you can use regular bread as well if your dog is able to eat it. In general, bread is safe for dogs provided they don’t have any allergies but do limit the amount, which was why I made mini burgers. I sometimes feed Duoji some keto-friendly (no carbs) bread as well, just a small piece, so you could use that too for a grain-free option.

For the filling, you could use canned dog food or small pieces of cooked meat. In the video below, I used Pet Cubes (cos lazy) but I’ve also done the same thing with small pieces of pan-fried minced pork as well. Just use your furkid’s favourite food, but make sure the ‘patty’ is moist enough to stick together.

I hope you’ve enjoyed this recipe. Do share your creations with us.

Until our next post!
@duojipoodle

Categories
Community Stories

The No Sweat Meal Prep for Busy Dog-moms

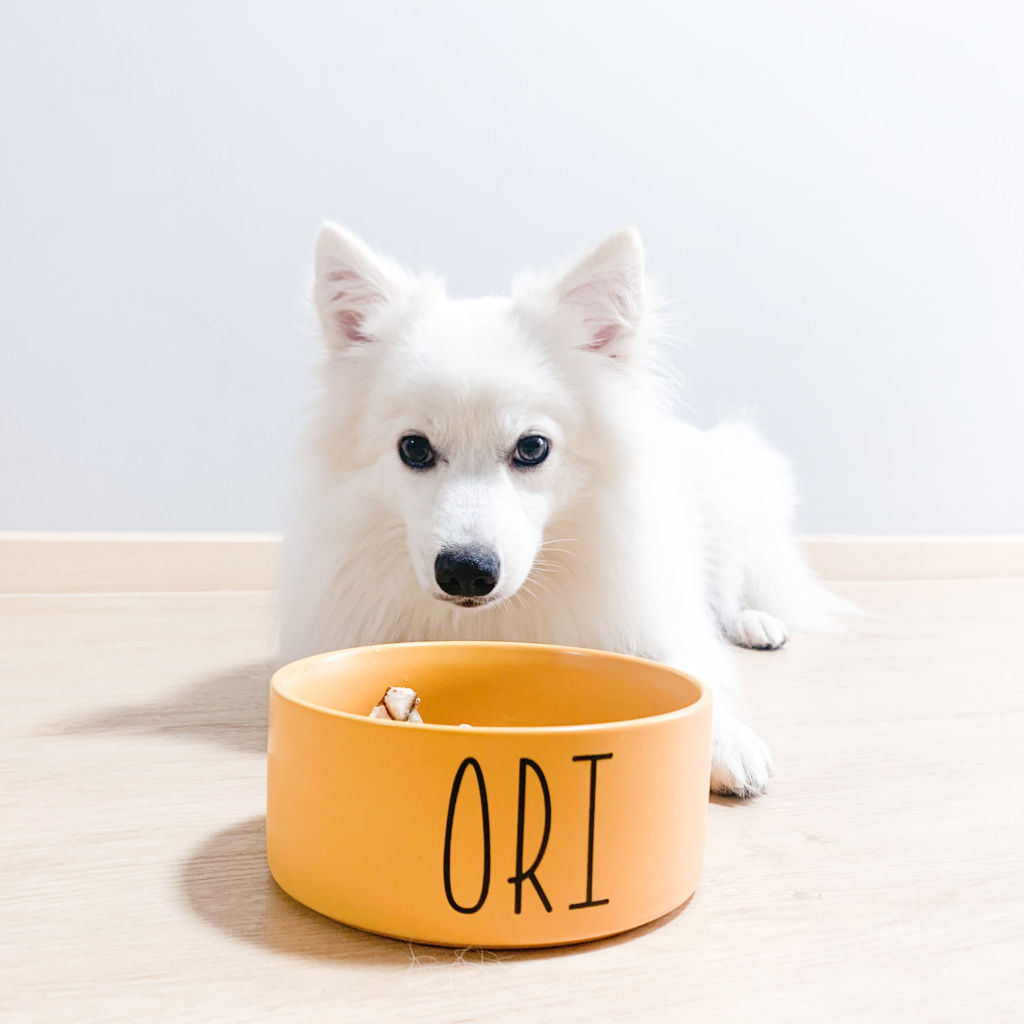
Disclaimer: I am neither a professional nutritionist nor a vet. This article is written solely based on personal experience and what I wish I knew when I first got Ori.

If you are like me and tired of cooking the same food over and over and over again, then this article is for you. I used to cook enough for 2 meals each day and it got tedious. First, I could not vary his proteins much (Erm, how much variety of meat can you find in our local supermarkets?). Second, what a waste when I buy offals and throw away the bulk of it because Ori should only have 5% of such proteins. Third, it got boring.

I chanced upon @aki_no_kumo’s food preparation one day and I knew then that that was what I wanted to do for Ori. It’s been working well for two months now and I hope that this little tip will help you as well.

Part 1: The nutrients dogs need

I found most of my information on DogAware.com but also chanced upon information from @thelazygoldiemax (who has nicely summed everything up in this article: Home-Cooked Food – Facts and Myths). Truffleruffel also wrote a fantastic article on a Beginner’s Guide to Home-Cooked Food so do check those links out.

In general, dogs require 2-3% of their body weight in food every day and with no thanks to my post-graduation-not-really-functional-brain, I armed myself with my trusty phone calculator and headed down to my nearest supermarket. 

Love how easy meal prep becomes with these babies!

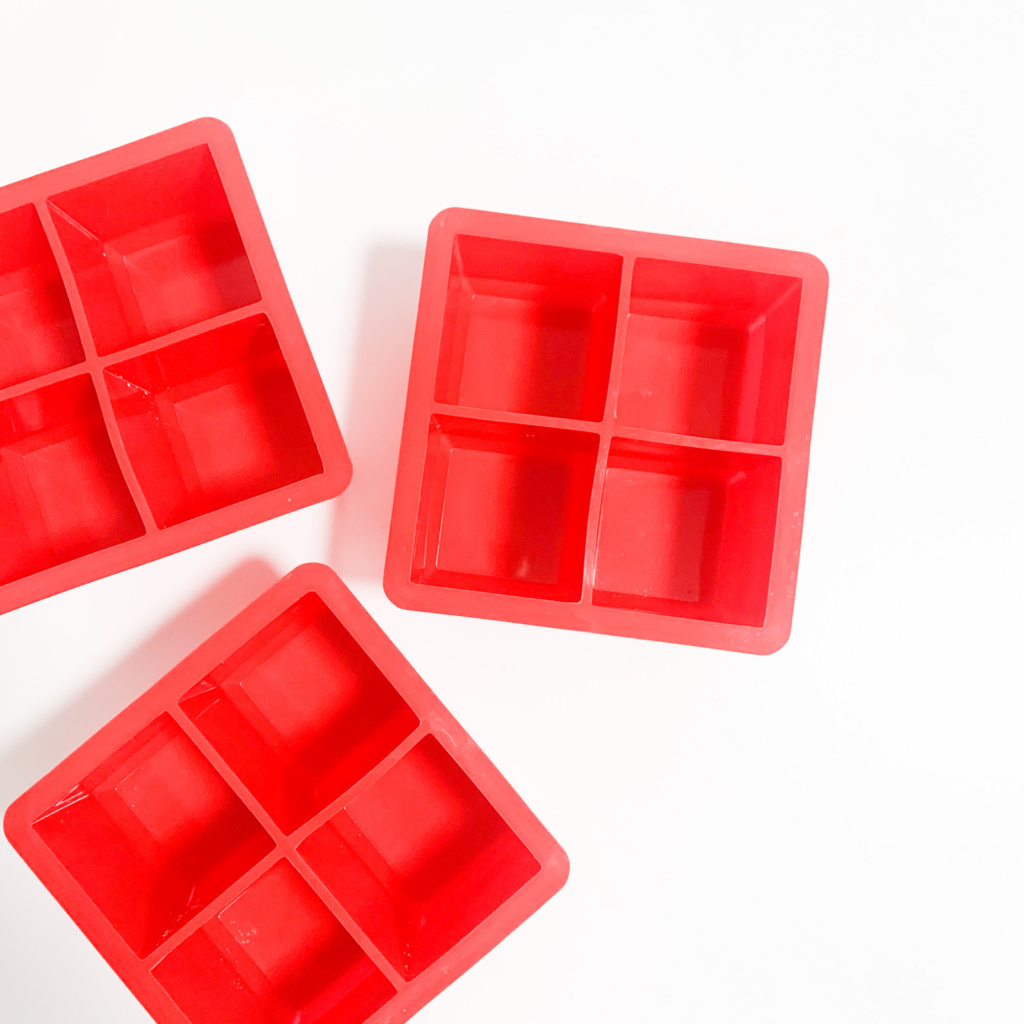
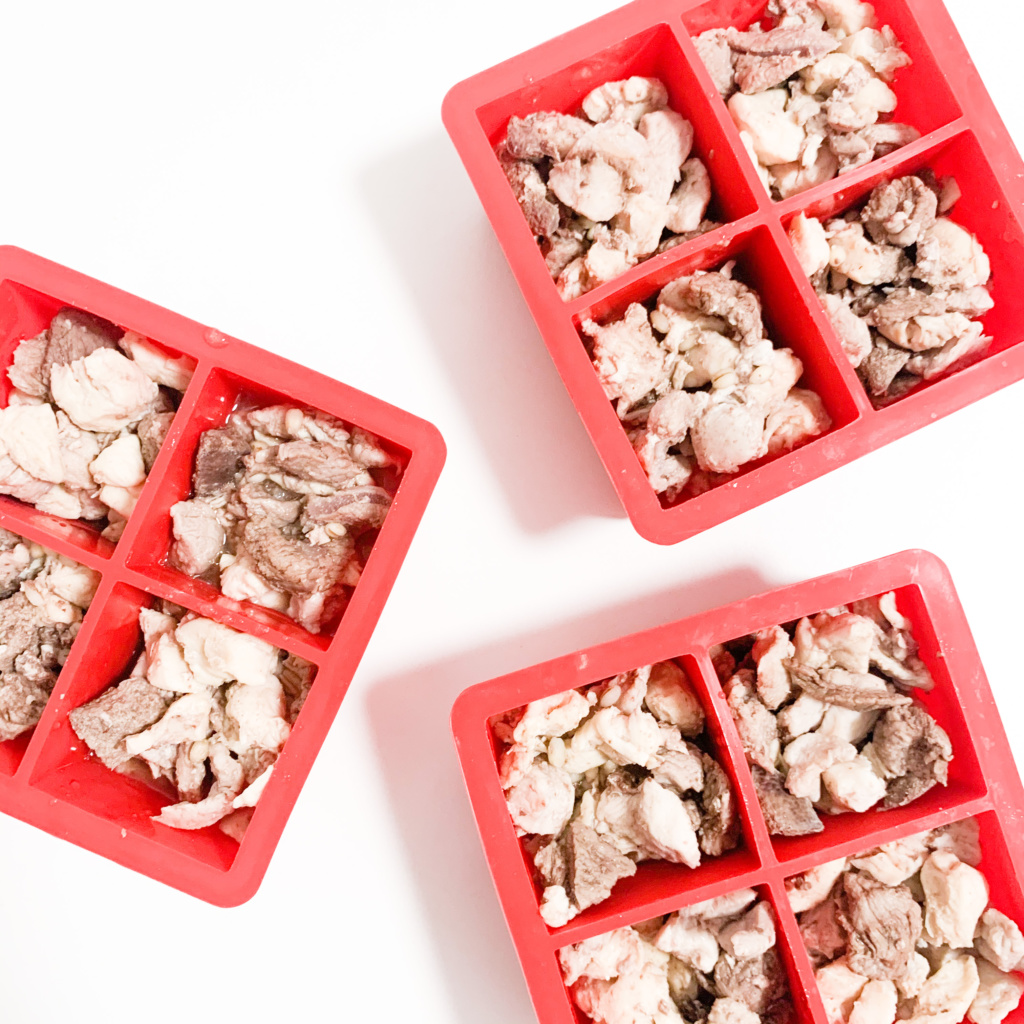
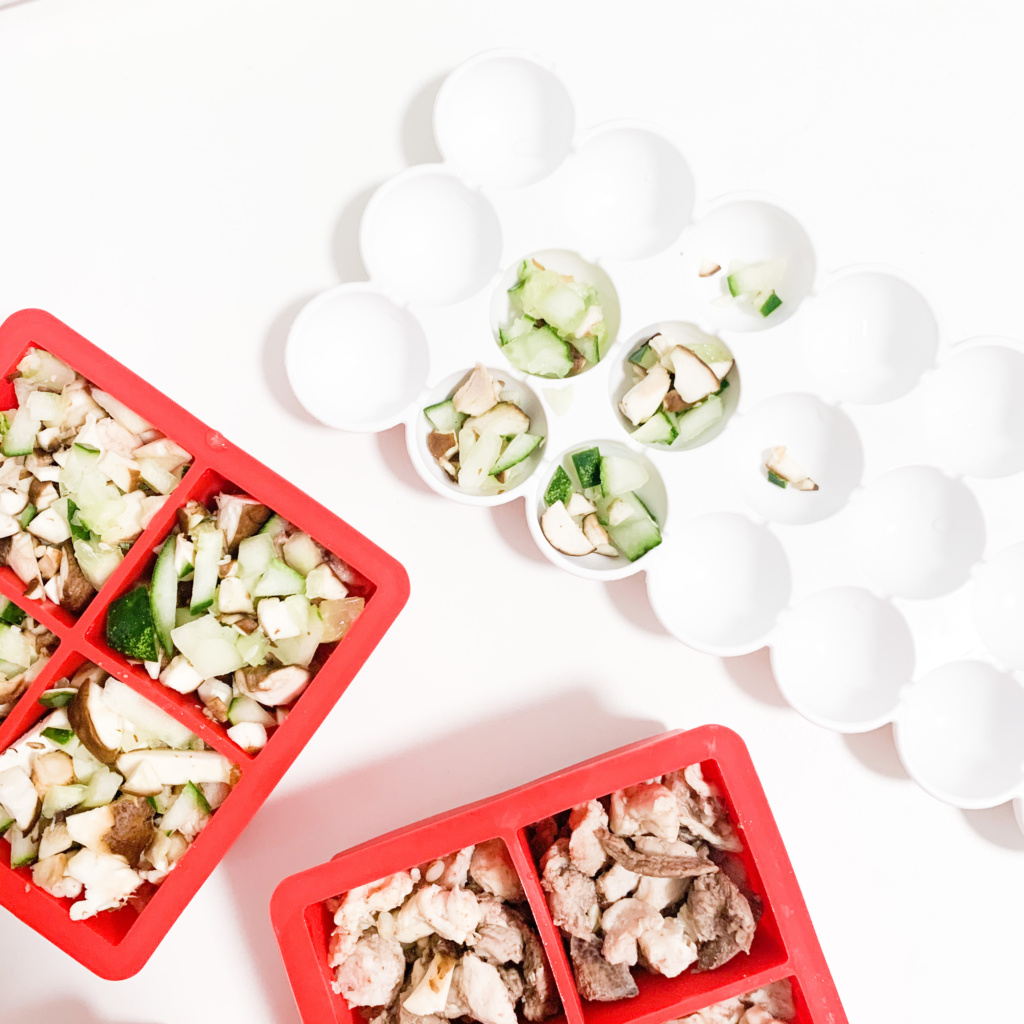
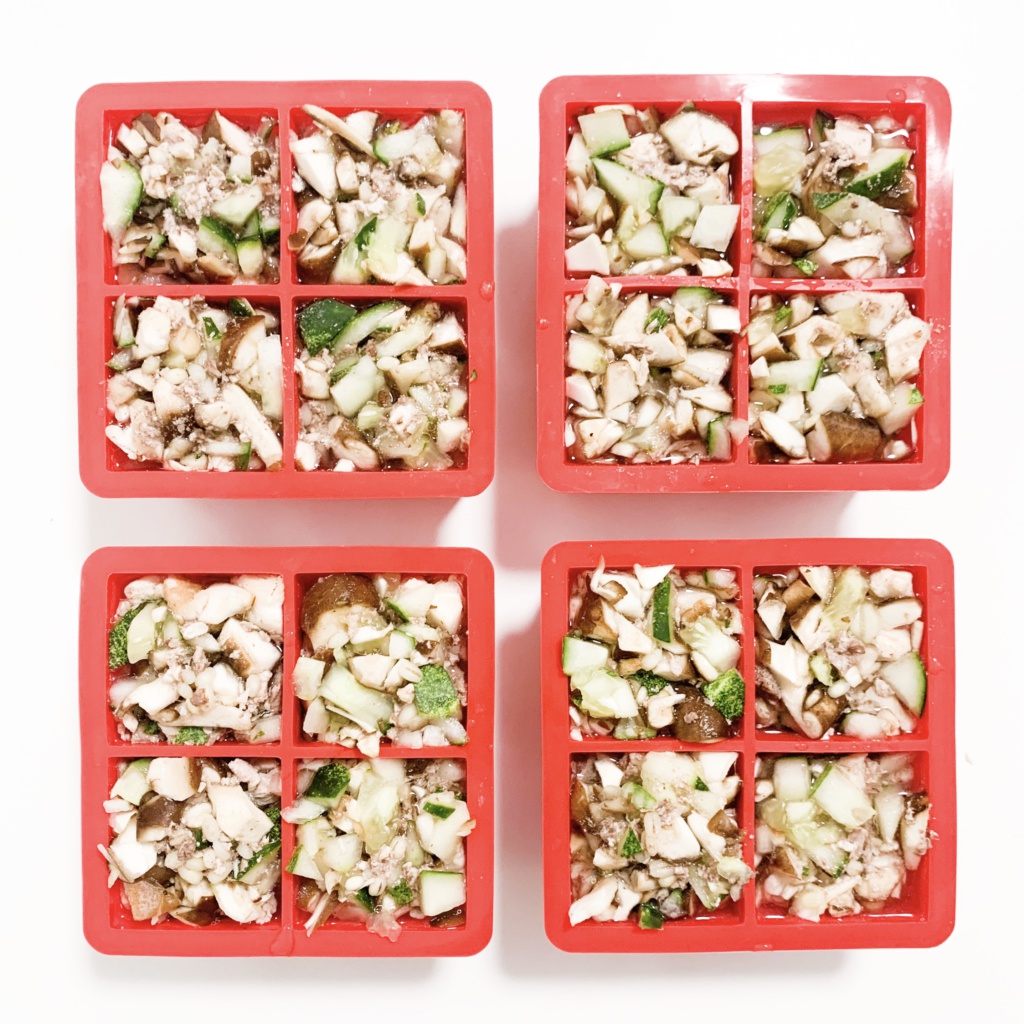
Oh, I should mention that these silicon food containers are life savers. Each compartment has a capacity of 100ml (perfect for each meal for my 9.5kg furkid). Do also note that the weight of raw food =/= cooked food so you’ll have to account for that when shopping. Since I mix kibbles with HCF, this was not so important for me as I can top up the balance with kibbles.

Part 2: Ingredients

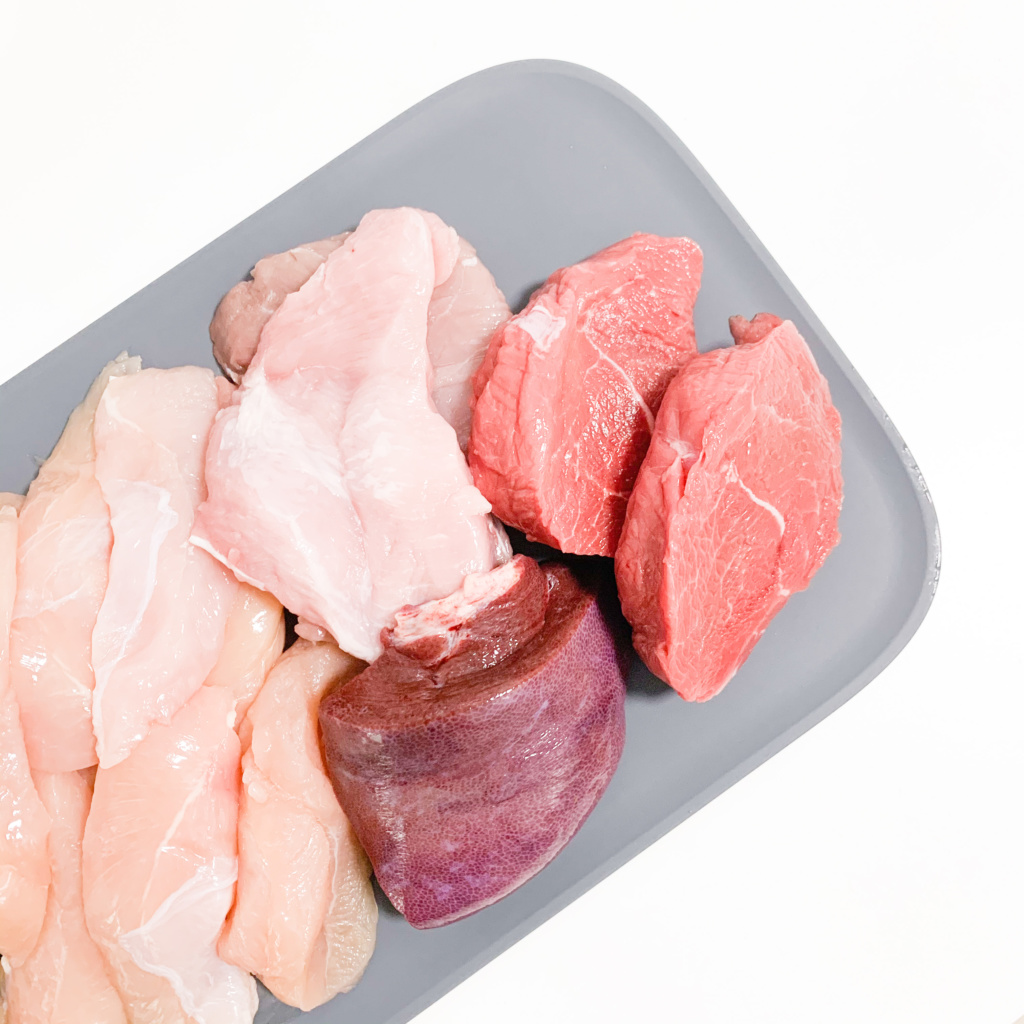
I like ingredients that are readily-available in our local supermarkets. If you’re looking to vary your proteins, there are many online suppliers that can provide others such as lamb, crocodile, kangaroo, yada yada yada.

Again, check out the links above for ingredient ideas!

* You do not have to include everything in this list all the time. I mix the portions up and exlude/include items each week depending on my mood. 

Part 3: Getting to work

Your job will be 10x easier if you have a meat grinder, which sadly, I don’t, so a pair of food-grade scissors are now my best friend. I like to cut everything in as small a piece as my patience can manage just so they’re easier to contain.

Throw in all the meats and turn on the gas for a good steam. Remember to stir it occasionally. 

While waiting, I cut the vegetables. A blender will save your life, but since mine is spoilt, I use this opportunity to practice working my fine motor skills and chop everything up instead.

Put the chopped/blended vegetables in bowl in the fridge and wait for the meat to be ready. 

Part 4: It’s ready!

All you need to do is to partition and contain the meat into the different silicon boxes.

I prefer adding some vegetables to top it off but you can always vary portion sizes to suit your dog’s needs (e.g. 1 container for meat, another for vegetables; half for meat, half for vegetables). The key is, it should be something that works for you

Add the remaining soup and top it up with water to form a perfect cube. Freeze your food prep and it is now ready to go!

Part 5: The yum yum in their tum tums

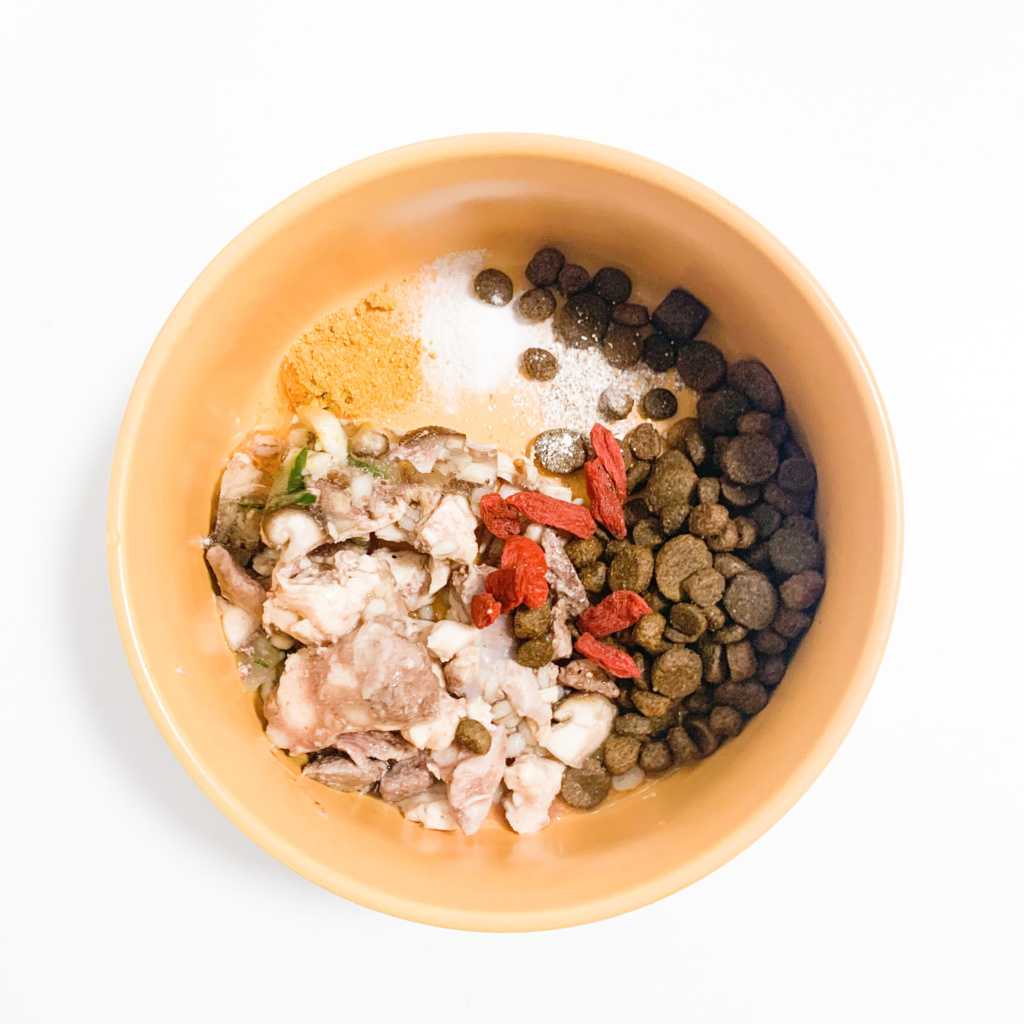
Defrost one portion overnight (it helps, trust me) and simply add hot water to mix it all up before serving. Reheating vegetables releases nitrates, and ingesting anything high in nitrates increase the chance of developing cancer, which is why I don’t cook the vegetables first. I was not able to find the original study I read this and am unable to provide the link here. This is when I add Ori’s supplements (e.g. Coconut oil, rosehip powder, egg shell powder) as well as his portion of kibbles. 

And voila! One happy pupper and a happier hooman who no longer needs to cook each and every day. 

Do leave a comment or drop me a PM over at @orithespitz if you have any queries!

P.S. I store other canned/packaged food too and I use them to take cooking breaks in between cycles. Can’t be cooking a week’s worth of food on days when I reach home late, can I?

Categories
Community Stories

DIY Doggie Mooncakes

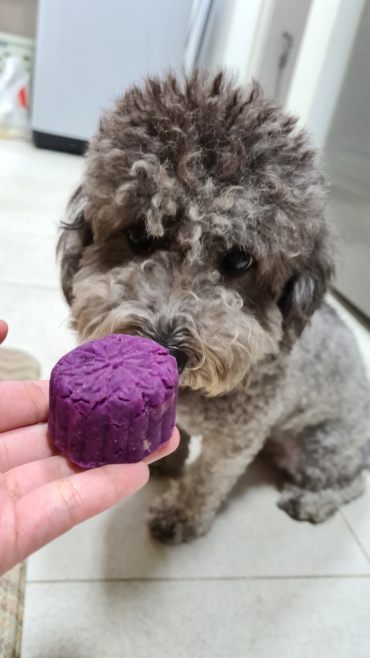
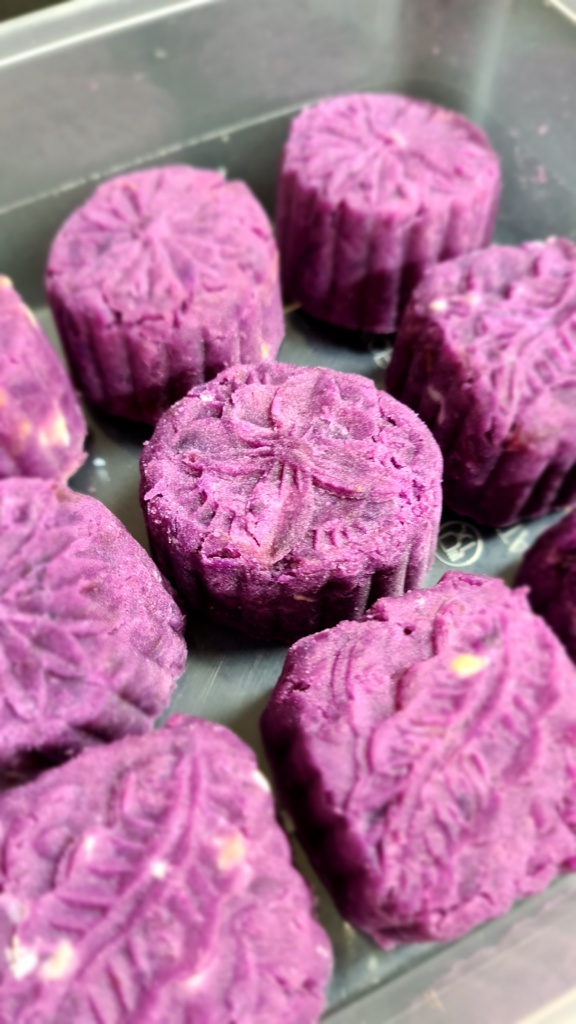
Mid-Autumn Festival will be upon us soon. What better way to celebrate the occasion than to enjoy some mooncakes and tea (non-caffeinated) together with our furry pals?

Here’s an easy DIY doggie mooncake recipe that I’d like to share today. In this recipe, I featured two flavours – salmon pumpkin and cheesy chicken. Feel free to customise the mooncakes with your furkid’s favourite fillings. Think other proteins, different seasonings, chopped up meat jerkies, fruit puree or even durian if you’re feeling indulgent.

You’ll need:

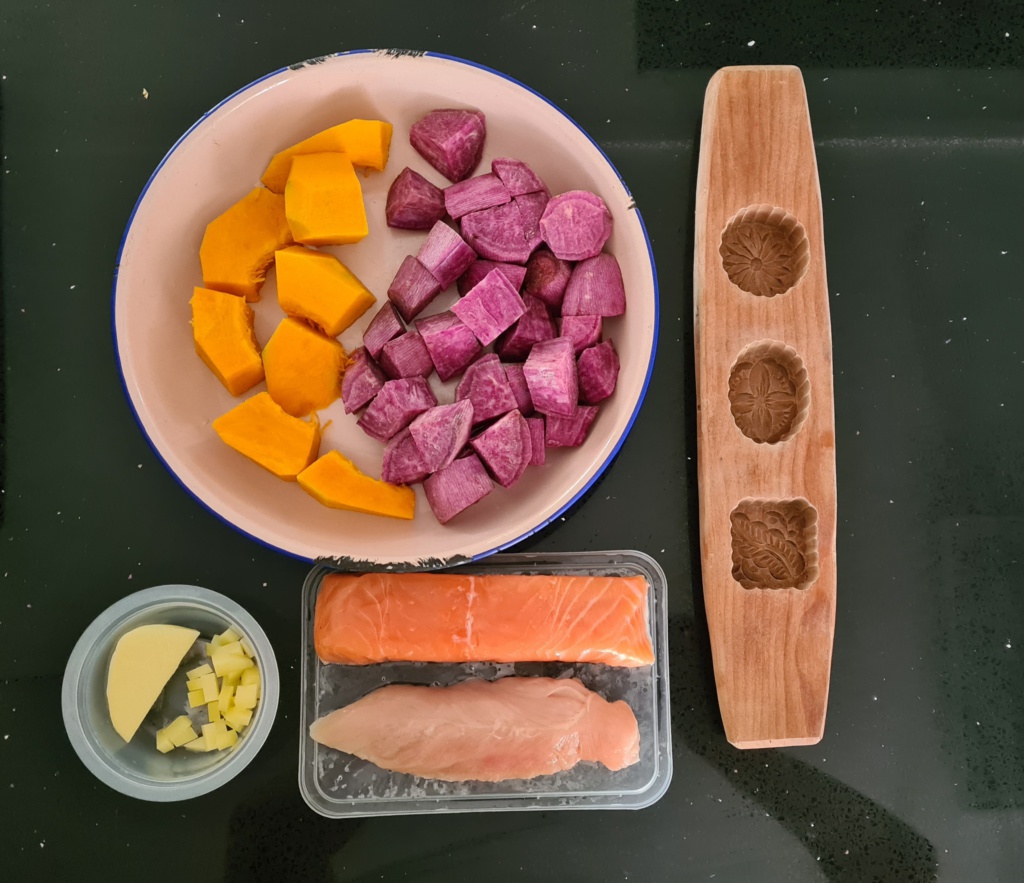
  • 350g Sweet potatoes
  • 50g Pumpkin
  • 80g Salmon
  • 80g Chicken fillet
  • Mozzerella cheese
  • Mooncake mould
  • Weighing scale

Makes approximately 10 mini mooncakes. To be consumed as a treat or as part of a balanced diet.

Step by step instructions

  1. Peel and wash the sweet potatoes. Cut into cubes.
  2. Wash and de-skin the pumpkin. Cut into cubes.
  3. Steam the sweet potatoes and pumpkin on high heat for around 15 minutes, till soft. Alternatively you may choose to boil them.
  4. Remove from heat and mash them separately. Set aside for use later. The sweet potato would be your mooncake ‘skin’.
  5. Pan fry the salmon and chicken fillet till fully cooked. Add a drizzle of coconut oil for added fragrance (optional). You may also choose to boil or bake the proteins.
  6. Chop the salmon and chicken into smaller pieces. These will be your mooncake filling.
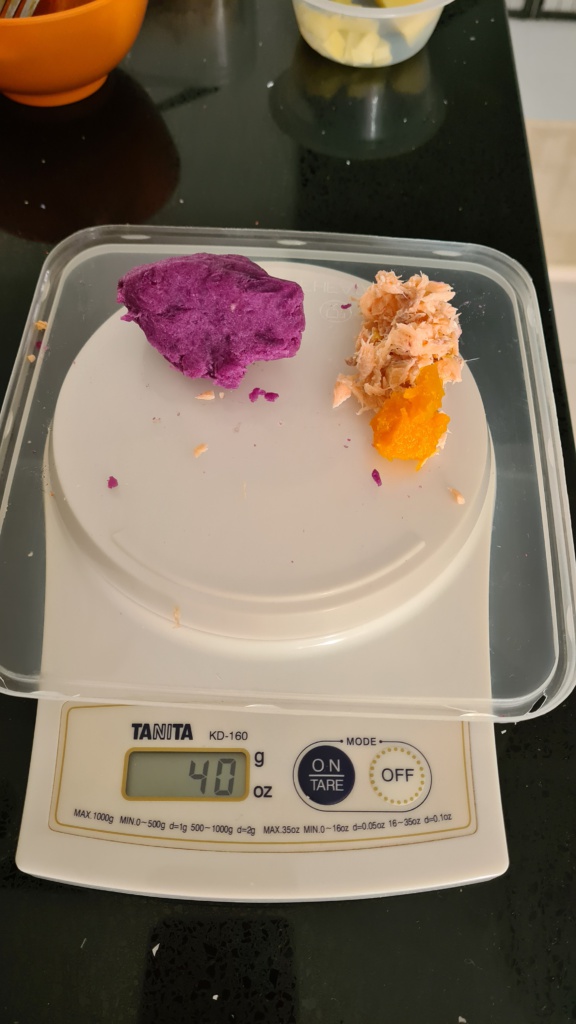
  7. Weigh out the ingredients according to the volume of your mooncake mould. The skin to filling ratio is approximately 3:1. For a 40g mooncake, I used 30g of sweet potatoes for the ‘skin’ and 10g of salmon and pumpkin combined. Likewise for the other flavour, I used 10g of chicken and cheese combined.
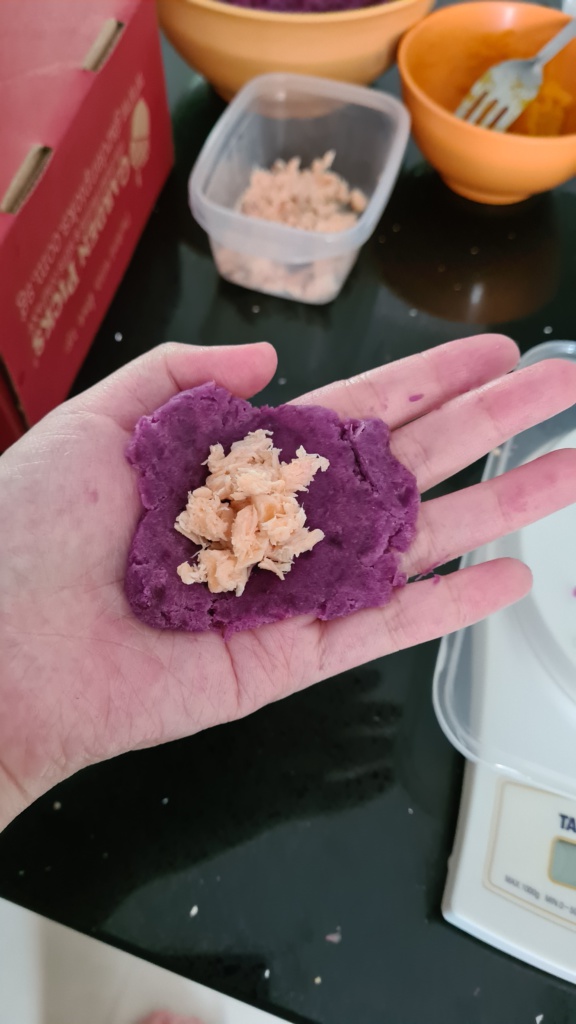
  8. Flatten the sweet potato into a disc shape with your palm. Place the filling in the middle of the ‘skin’ and carefully wrap it up. Shape into a compact ball. If there are cracks or the filling is spilling out, reduce the amount of filling slightly.
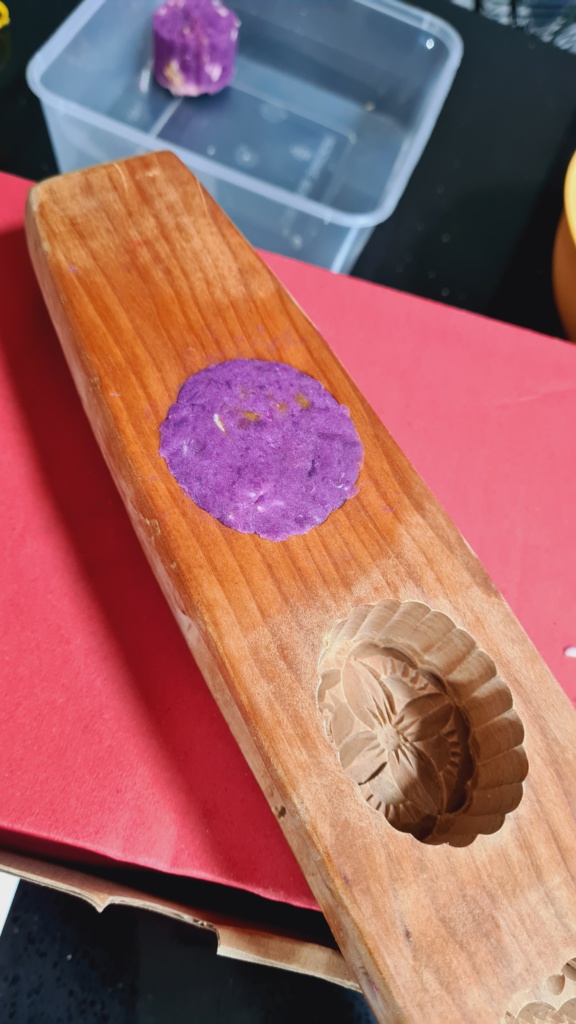
  9. Shape the mooncake using your preferred mooncake mould and you’re done!

Notes:

  • You may use other types of sweet potatoes for the ‘skin’ – the orange or yellow ones. Regular potatoes work as well. For more colour variants, you may also colour the potatoes with natural food colourings eg. beets for red, turmeric for mustard, spinach juice for green etc.
  • Pumpkin tend to be more moist and sticky when mashed, hence it’s not suitable to be used as the ‘skin’. You can try mixing in some flour if you prefer to use pumpkin for the ‘skin’.
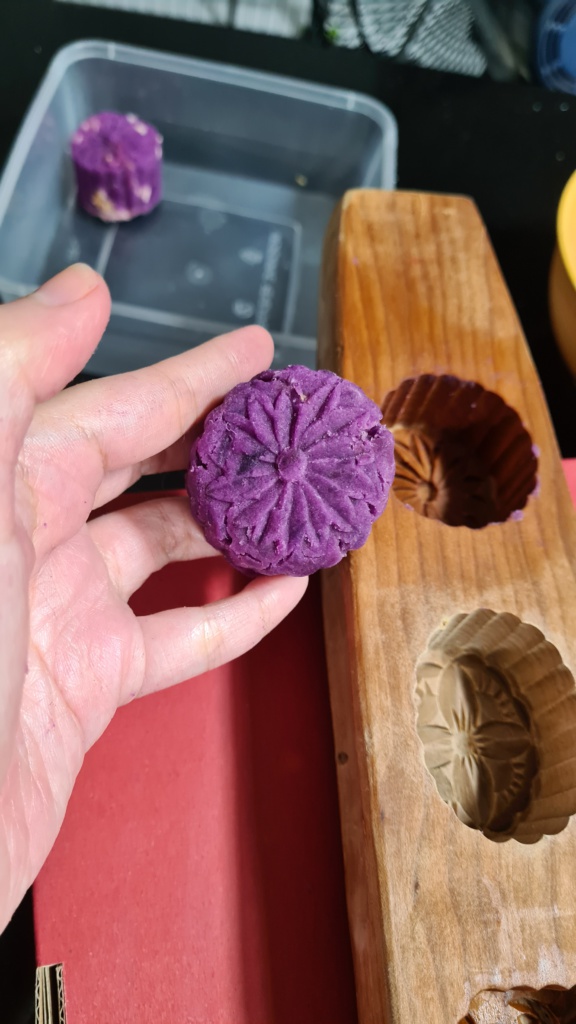
  • I used the old-school wooden mooncake mould which takes a little more effort to get the mooncakes out. You may brush the mould with a little bit of oil or dust with some flour to make the removal easier. The plunger style type of mould would be more convenient.
  • Less is more when it comes to the fillings. The sweet potato ‘skin’ is drier, more crumbly and less stretchy compared to a real dough. You may find it challenging to form a compact ball if you put too much fillings in.

Ending off with a quick visual summary of the recipe.

If you have tried and enjoyed our recipe, tag us on IG @duojipoodle. We would love to see your creations!

Until our next post!
@duojipoodle